-Patrick Metz-

Winter is tough time of year for anyone, but even more so for gardening and homesteading enthusiasts. It seems as if it is constantly cold, wet, or both, discouraging favorite outdoor activities. But don’t despair! I find this to be the perfect time to experiment in the kitchen. This year, I brushed up on food preservation techniques in preparation for our harvest, mainly food fermentation, and more specifically lactic acid fermentation (aka, lacto-fermentation).
First, I want you to think beyond the pickle. The usefulness of lacto-fermentation is practically limitless, so why limit it to cucumbers? Pickling is a way of preserving food in an acidic medium. Fermentation is a transformation of food by microorganisms through enzymes, converting sugars into something else.
The two most recognizable and common lacto-ferments in the world are sauerkraut and kimchi. But lacto-fermentation can transform just about anything, adding fruitiness, acidity, and umami in expected places. Even more exciting is how simple this process is. Weigh your ingredients, add 2% salt by weight, and give it time. How much time? Well, that depends on how sour you want the final product to be. There are variations of course, and success (and safety) depends on a few things.

What Ingredients Should I Use?
Choose fruits or vegetables that are organic. This usually ensures that they are not coated in wax, treated with pesticides, or irradiated, and thus will provide a good food source for the friendly bacteria that will cause fermentation. Rinse with cold water to remove any dirt or particles, but scrubbing is not necessary. You can ferment a whole range of tasty fruits and veggies, and here are a few recipes to get you started!
Salt, Salt, Salt:
Lactic acid bacteria doesn’t require salt, but salt will help create an inhospitable environment for unwanted pathogens. Fermenting in brine introduces the salt necessary, and as a bonus takes oxygen out of the equation.
To start, put your fermentation vessel on a scale, and set the weight to zero. Now add your chopped or sliced ingredients and enough water to cover them. Calculate 2% of that weight, and you will have the appropriate amount of salt needed. Pour the water back out of your vessel into a large bowl, and blend in the salt until it is completely dissolved. Pour salted water back into your fermentation jar, pressing the veggies to the bottom, leaving a layer of liquid on the top.
Remove the Air:
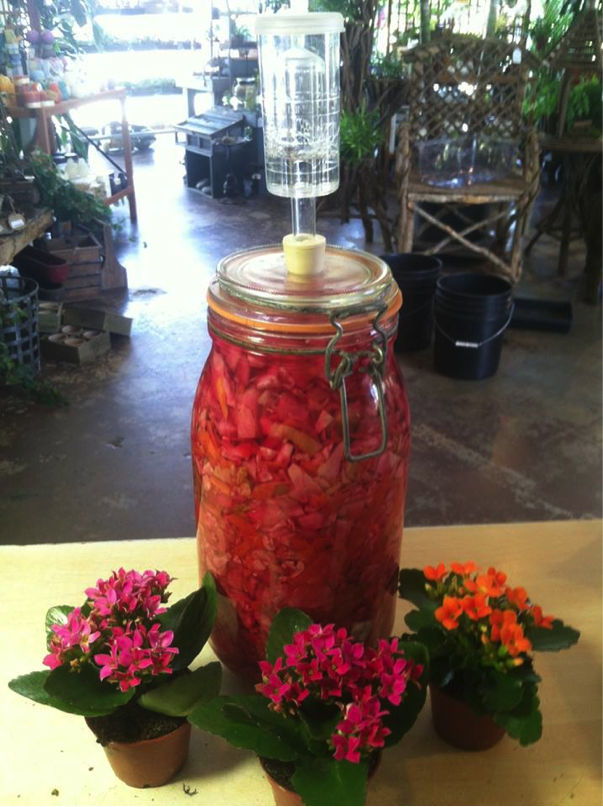
Lactic acid bacteria function best in the absence of oxygen. This is most commonly done by covering the product in a liquid (water or brine), but can also be achieved using fermentation jars with an airlock and stopper, or if you are really into it, a vacuum sealer. Removing oxygen helps your wanted bacteria get to work, and it also takes potential pathogens out of the mix. You also want to make sure to always start with clean receptacles, knives, tools, hands, and work surfaces.
So What Do I Do Once I’ve Got my Container Filled and Sealed?
Keep at room temperature, preferably a consistent temperature, and wait. How long? Well, that depends on you. From the moment the fermentation starts, it is only going in one direction – sour. The same way you taste pasta to see if it is done, taste your ferment as it progresses. Different ingredients will also take different times to ferment. Ideally, you want to maintain the raw flavor of the original ingredient, but with some added acidity and umami.

What Do I Need to Get Fermenting?
A basic set of equipment will give you the tools you need to do a lot:
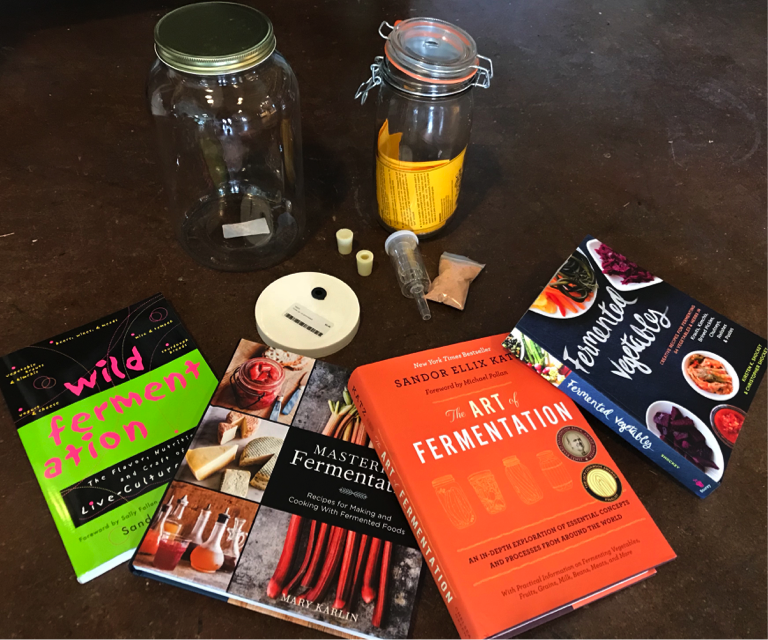
- Airlock: Keeps air from getting in; lets gasses from fermentation process out as pressure builds.
- Fermentation Jars: Glass containers with a sealable lid and gasket, ours are drilled to allow for a use of an airlock.
- Ceramic Crocks: Standard for sauerkraut. Keeps UV light out, check out our version with a water seal lid.
- Fermentation weights: Keeps ingredients pressed down below your water line.
- Muslin/Cheesecloth: Strains savory liquids from fermented products such as blackberries or tomatoes.
- Food Grade Buckets: Great for working with larger batches.
- Heat Mats: Usually used to germinate seeds, but can also be used to create a small fermentation chamber (think consistent warm temperatures, where your ambient room temperature is too cold to work)
- Inspiration: Don’t be afraid to get creative! But, it is also nice to rely on others for inspiration for recipes or ideas. Some of our favorite books on fermentation here at Fifth Season are The Noma Guide to Fermentation, The Art of Fermentation, Wild Fermentation, True Brews, Yeast: The Practical Guide to Fermentation, and Mastering Fermentation.
We also have a few recipes of our own for you to try!
As always, we are happy to talk with you about the fermentation process, and answer any questions you might have.

Leave a Reply