– Dan Toot –
 Let’s talk variety in our homebrew. Like many homebrewers, I have my go-to’s. The recipes that have been proven to work, are loved by friends and family, and the routine is so familiar, it’s a low-fuss way to get a good drink in your hand in relatively little time. Every once in a while, however, we want to branch out. Brewing being the ancient art that it is, there are virtually limitless possibilities (any poor fellow-traveler who has spent any time on a brewing forum online can attest to this). But it can be hard to figure out which styles fit your homebrewing sensibility. Lagers are a popular hit, but few of us have a lagering fridge at our disposal. Lambics and sours are sexy and esoteric but are not-for-all-markets and can take a year or more to come to fruition. Luckily, we don’t have to look far for a down-home, seasonally-appropriate refreshment. So let’s sing a song of Saisons!
 You may know them colloquially as Farmhouse Ales, and these humble brews were the result of the lighter winter months where farmers would brew with what they had on hand to drink in the warmer months. With many Belgian styles, the flavor tends to be more yeast-forward, and the Saison is no exception. Providing esthers that can contribute unique flavors like banana, pepper, clove, and bubblegum, we have an opportunity to play with more than just the hop and grain profile. For a curious homebrewer, this gives us a wide berth to experiment and experience! For my money, though, I like it when my experiments can be at least drinkable when all is said-and-done-and-brewed. This is why our beer kits, and recipe page, come in handy. They’re a super clear way to engage with a new brewing style while having a degree of guidance and structure that helps reduce the likelihood of error.

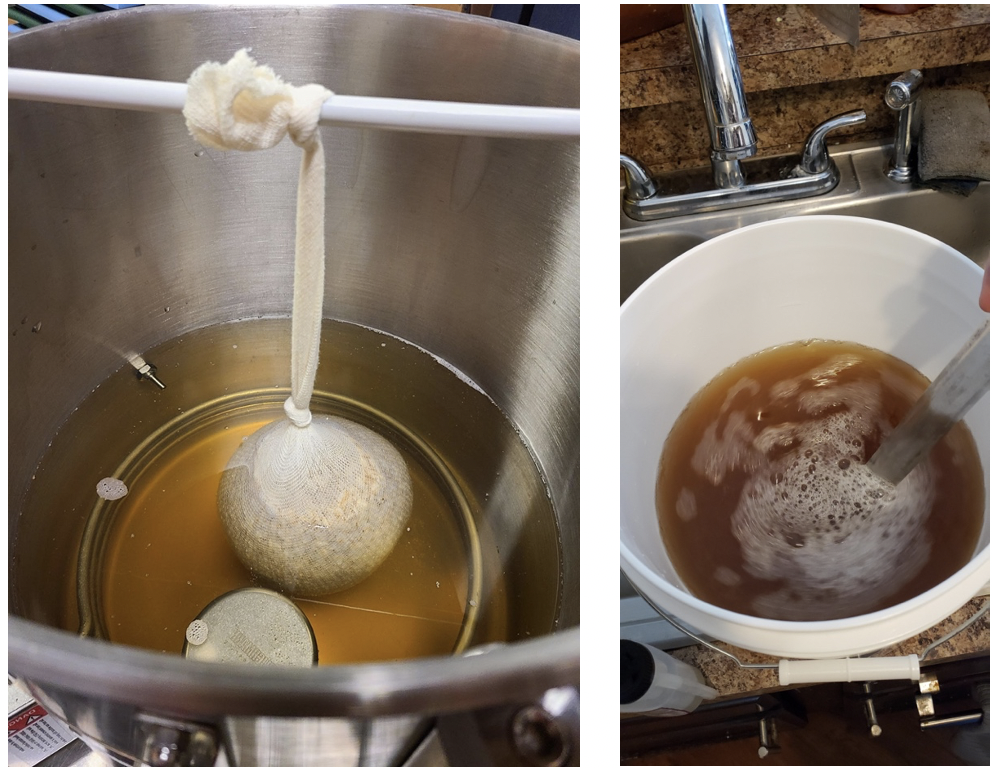
Given the warmer days, more sun, and time in the garden, it felt like an ideal time to try the Blood Orange Saison kit – a simple, straightforward extract brew, with little in the way of adjunct grains and hops, but a new style of yeast and the addition of some blood orange flavor at the end of fermentation. Having never brewed a Belgian style, and having never tried an added flavor in any of my brews before, this seemed like the perfect learning opportunity. While kits provide a great deal of security in simplifying the process for the learning brewer, I have found that they can fall prey to some oversimplifications that may give you a subpar product. So these are my tips to take into an extract kit:
– Always re-hydrate your yeast – Often instruction kits will have you pitch a sachet of dry yeast directly into your wort. This often will get your fermentation going, but it’s like someone barging into your room at 3am and making you run a 10k. You may do it, you may even finish, but you won’t be performing your best. Plus, that added stress can contribute some off flavors to your brew, and with a more yeast-forward style, you want to make sure your yeasts are happy and healthy.
What to do? – Consider making a starter. Here at the shop we’ve been big fans of the Omega Propper canned starter. Starters provide a healthy environment and food for the awakening yeast, meaning that by the time you pitch your yeast, you’re throwing a full-blown party. Happy yeast means a good fermentation and better tasting beer. If you’d like to keep it simpler, just follow the basic instructions for yeast rehydration (you’ll find it’s very similar to what a baker might do for a loaf of bread!)
-The Small Stuff – Check your kit to see if the little things are included. Not just to make sure that it was packed properly, but also to include your reliable tools. Whirlfloc, yeast nutrient, ClarityFerm, all that? Think ahead to bottling or kegging day, too!

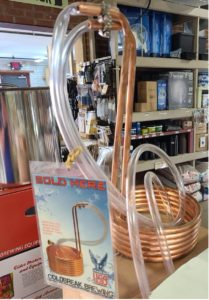
With all that in mind, dive into your kit and get brewing! Each kit comes with a clear hopping schedule, opportunity to record your gravity readings, checklists for materials and more. So you can be confident that there’s documentation to help keep your head on straight. Stir well when you add your malt extract to avoid scorching in the pot, have a bucket of sanitizer solution for everything that touches your wort after the boil, and a good way to chill your wort for fermentation. I used a wort chiller for the very first time on this brew, and I have to say: As an ice-bath, apartment dwelling, small-scale homebrewer, this device is a Game. Changer.
So as we warm up and look to cool down, why not try an old unfamiliar favorite? As you familiarize yourself with different brew styles, it will give you a glimpse into the varied ways that we have interacted with this ancient practice over generations. Not only is it a good history lesson, but often you’ll find that the folks who have gone before have also figured out a way to make your brewing life that much easier.
Happy Brewing!

Leave a Reply