Not everyone shopping our homebrew department for yeast is actually brewing beer. We often get folks looking for fresh yeast for baking. This summer, a friend turned me on to what she described as “hands down, the best pizza dough in town” from White Labs Kitchen & Tap here in Asheville, NC. White Labs is a San Diego-based yeast production company and a popular yeast brand among homebrewers. In 2017, they opened a second location in Asheville that aside from the lab has a restaurant concept. One of the cool things they do is experiment with using various yeast strains in different base recipes to show off the sometimes subtle and often not differences in flavor that yeast can accentuate. The yeast produced at White Labs is central to the recipes found on their menu – from fermented sauces and dips to baked goods, including their signature pizza dough.

We’ve carried White Labs yeast for many years and yet I hadn’t considered using beer yeast for my baking projects at home. As it turns out, both baker’s yeast and beer yeast (also called brewer’s yeast) are products of the single-celled fungus, saccharomyces cerevisiae. They both work by turning sugar and starch into CO2 and alcohol and as such can be used interchangeably, bearing in mind that if baking with brewer’s yeast you need to make sure you’re using an active version.
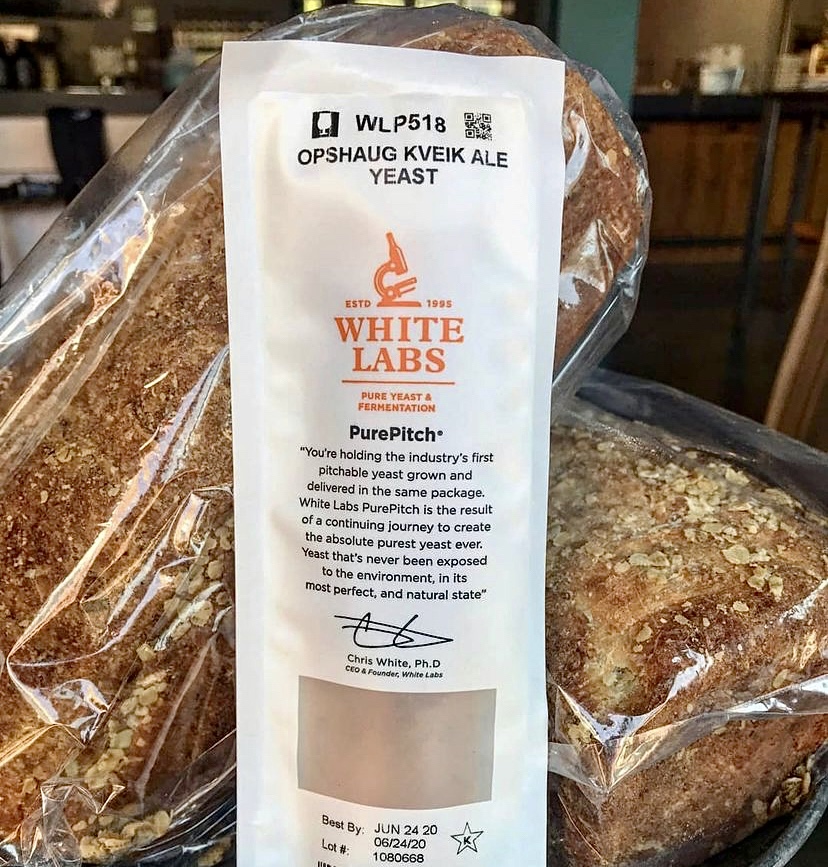
The secret to White Labs mouthwatering pizza dough is all in the yeast they use: WLP518 Opshaug Kveik Ale. This wasn’t the yeast they’ve always used, however. Through a process of experimentation, the kitchen team discovered that WLP518 offered far more complexity of flavor and overall consistency with refrigeration that other strains like WLP001 California Ale Yeast and WLP002 English Ale Yeast couldn’t compete with. The WLP518 gave better rise and just tasted better than other strains.
 White Labs has a strong focus on education which is evident in their in-person tours and learning labs as well as their online education programs and public YouTube videos. This is where I learned more tips for making pizza dough at home that will turn out just as good as theirs in the restaurant. Obviously, a commercial kitchen will have different considerations such as scale, time, and cost that might not apply at home so I appreciated their tips for at-home applications. One recommendation is to incorporate a poolish into your pizza dough which, as a novice baker, I hadn’t heard of before. A poolish is a pre-ferment, a jiggly, airy, batter-like mixture of flour and yeast, that you can add to your final dough to improve flavor and texture, reduce acidity, and aids in digestibility (because it allows you to reduce the amount of yeast in your finished product). Should you wish to experiment with adding poolish to your pizza dough, you would need to make it ahead of time since it requires a minimum of 8 hours to ferment. Perhaps try it both ways and compare!
Without further ado, let’s make some pizza dough!
What you’ll need:
- 1 pack White Labs Yeast WLP518 Opshaug Kveik Ale Yeast
- 1 pack active dry yeast (optional, for poolish)
- Flour – unbleached bread flour, 00 (fine milled) pizza flour, or pumpernickel rye
- Water
- Salt
- Standing Mixer
- Plastic wrap or Beeswrap
- Clean kitchen towel
- Whisk and spatula
- Dough Tray (or oiled sheet pan)
- Gram scale
- Measuring spoon
For the Poolish (optional):
- 300 grams flour
- 300 grams water
- ⅛ tsp dry active yeast
For the Dough:
- 781 grams flour
- 327 grams water
- 5 grams WLP518 Opshaugh Kveik Ale Yeast
- 10 grams sea salt
The Process:
Again, if incorporating a poolish into your dough, you’ll need to do that either the night before you’re planning to make your final dough or the morning of. Combine equal parts flour and water as well as the yeast. Mix well then cover with a loose lid and set aside to rest for 8-12 hours. When ready, the poolish will have doubled in size. Your finished poolish at Step 1 below.
- To make your dough, gently whisk water and the WLP518 Opshaug Kveik Ale Yeast together in a standing mixer bowl. Add flour to the mixing bowl, start on a low setting for 1-2 minutes or until the flour is removed from the side of the bowl. Remove the dough hook, then cover the bowl with plastic wrap (or Beeswrap) and let the dough autolyse at room temperature for 30 minutes. If you’re experimenting with poolish, you’ll add your poolish to the dough ingredients in the mixing bowl at this step.
- After 30 minutes, remove the wrap, add salt and mix again at a low speed for 5-7 minutes or until the dough becomes elastic and stretchable. Once fully mixed (it becomes elastic and stretchable), allow the dough to rest at room temperature while it rises for several hours until it doubles in size.
- Remove the dough from the bowl and cut it into desired portions (4 is recommended). Place dough balls in a lightly oiled pan or nonstick dough tray, cover, and refrigerate for several hours.
- Remove the dough from the refrigerator, then shape the dough into balls and set aside for shaping/cooking. Some recipes call for a second refrigeration here to further prove. I didn’t and it was fine but feel free to experiment!

Cooking:
The first time I made pizza with this dough, the pizzas were baked off in a neighbor’s DIY backyard wood fired pizza oven which, by the way, is probably my next DIY project because it’s super fun for entertaining and makes the best pizzas! (plus, it’s cheap and easy to build). A wood-fired oven is also what they use to cook their pizzas at White Labs Kitchen & Tap. So, if you are using a woodfired oven, cook time will be about 90 seconds to 3 minutes as they reach temps of 900*F. Still follow the steps below for prepping and shaping your crust if using this method but omit the oven bit. However, if you or your neighbor doesn’t have a wood fired brick oven, you can also bake your pizza in a regular oven using these instructions.
- Preset oven to 350*
- Remove the dough and let sit at room temperature for 30 minutes to 1 hour.
- On a lightly floured surface, gently work around the dough by forming the crust. Keeping hands near the crust and away from the center, stretch dough gently while rotating.
- Gently stretch the dough so it does not tear.
- Place the stretched dough on a lightly oiled sheet tray.
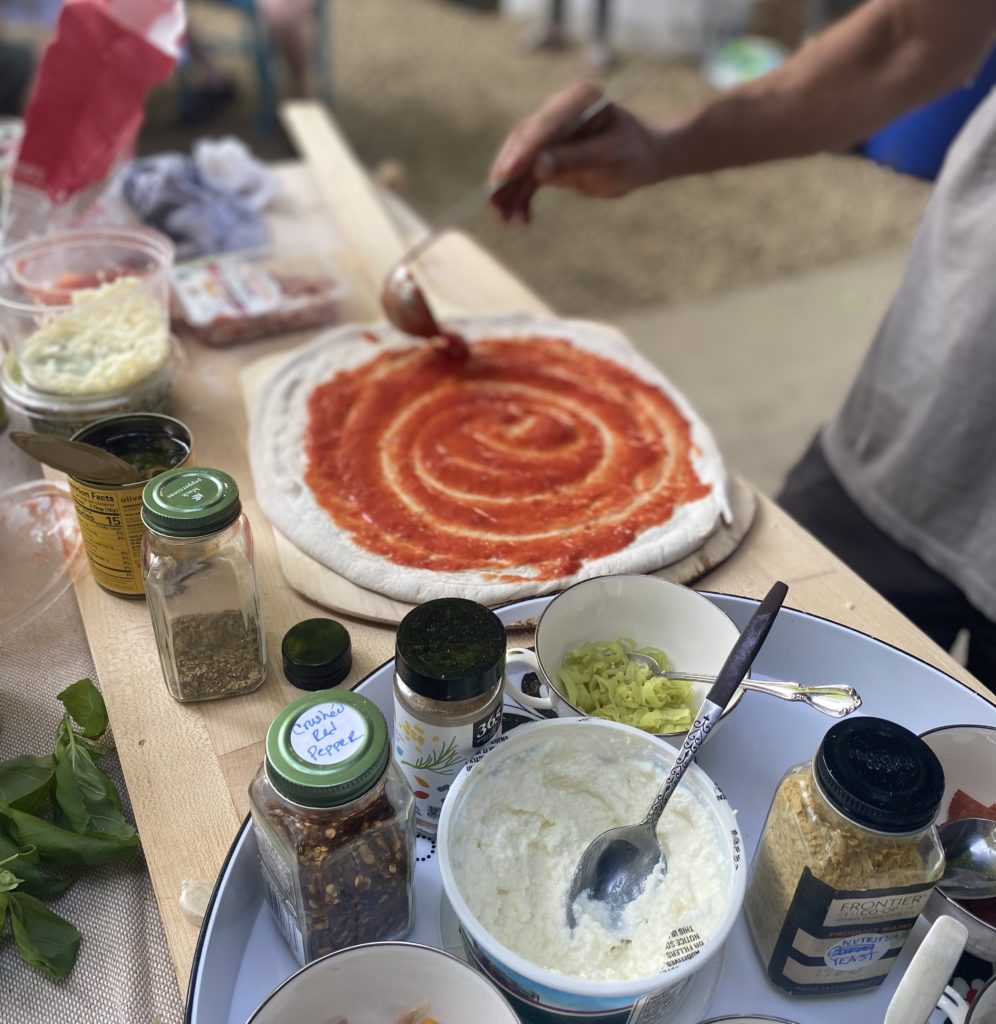
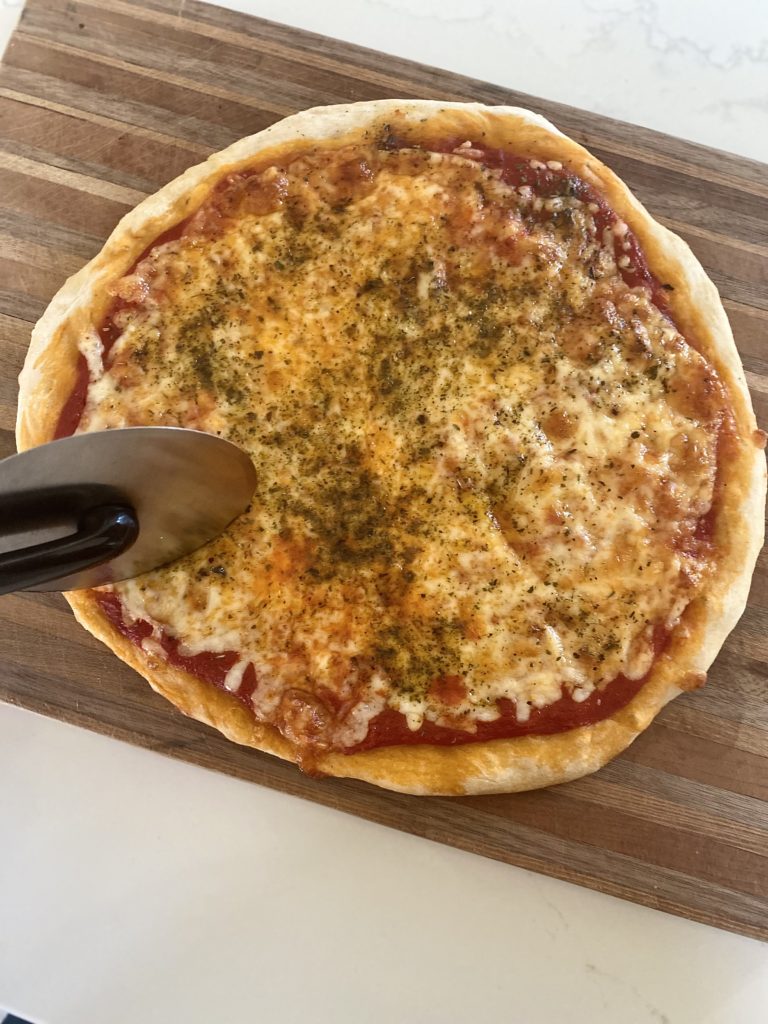
- Top the pizza dough with desired toppings and bake for 10 minutes.
*copied from the White Labs Kitchen & Tap Brewers Yeast Pizza Dough recipe card

Thank you to White Labs for sharing their knowledge and recipes with the public and for demonstrating ways to use brewers yeast to make delicious breads that’ll be far superior than any store bought crust out there. If you’re entertaining guests for the holidays and need a fun and affordable way to feed the crowd, this would be a great option! Plus, these crusts would make fantastic holiday gifts for anyone those foodies and pizza lovers on your list! Make as part of a kit with homemade pesto or herb blend, sauce with those tomatoes from your summer harvest or and cheese made with our array cultures. The possibilities really are endless.
Questions? Feel free to ask but we also encourage you to experiment and let us know what worked and didn’t for you? Could you substitute for a different Kveik yeast? We think so but give it a shot and see! Some of the best experiments are those unplanned or when substitutions were necessary!

Jason says
Can you do a cold proof to allow for more time or is a room temp proof preferred?
brian says
Great question and idea. We’ve never tried cold proof with this recipe…but given enough time it should work. If you give it a try let us know how it goes!
Rick says
I ended up grabbing Lalbrew VOSS Kveik active dry yeast and using it to create pizza dough. My room temp proof ended up amazing, but then when I cold proofed the remainder of the dough it was not nearly as flavorful nor did it rise any further. I reached out to Lallebrand, who makes the yeast, and they implied that allowing Kveik in particular, to rise at cold temps is likely to give unfavorable results. This is too bad since the flavor was so great, but it seems that for cold proofing over longer periods of time, that a brewers yeast that thrives in colder temps may be necessary. What do you think?
brian says
Awesome learning and thank you so much for sharing. The tip from Lallebrand makes a lot of sense…if you try it again, a lager style yeast may be just the right thing. Most of those are intended to ferment in the 33-40F range. Good luck and thanks again for helping us all learn a little more!
Joe says
41% hydration (non-polish option) seems entirely too dry. Is there a typo in that recipe?
brian says
Thanks for your question. We’ve had good luck with this ratio of water to flour. A good tip is to add water slowly until you achieve the consistency you desire. Depending upon conditions and the properties of the flour you’re using, it can take a little more or a little less. Best of luck!