Welcome back to our “Year in the Organic Garden Series!” In January, we focused on the purpose of this series, soil testing and garden planning. If you missed the post, or want to refresh your memory, here’s the link January in the Organic Garden..
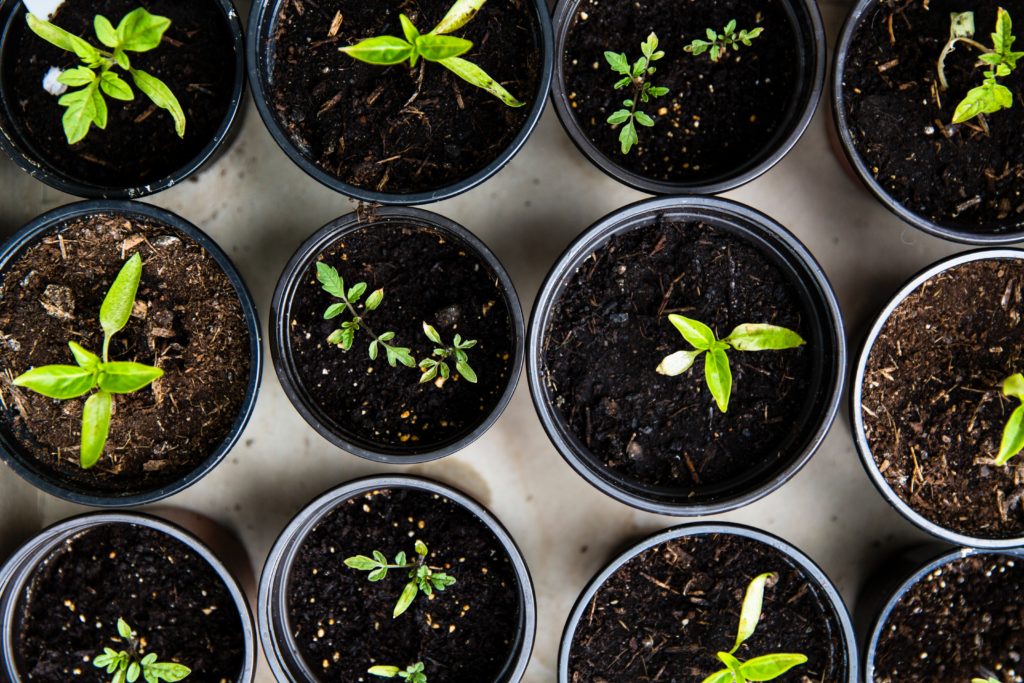
Now that we’re caught up, we turn our attention to indoor seed starting as the primary activity for February. Starting your organic garden from seed does take some time and attention, but it is also cost effective and rewarding. Even great garden centers offer a much wider variety of seeds than they do flower and plant starts. So, by starting your seeds now you have the broadest selection to choose from for this growing season. If you are limited on seed starting space, no worries. Many gardeners start their personal favorite crops from seed and then use purchased starts to fill-out the garden. Both ways work well!
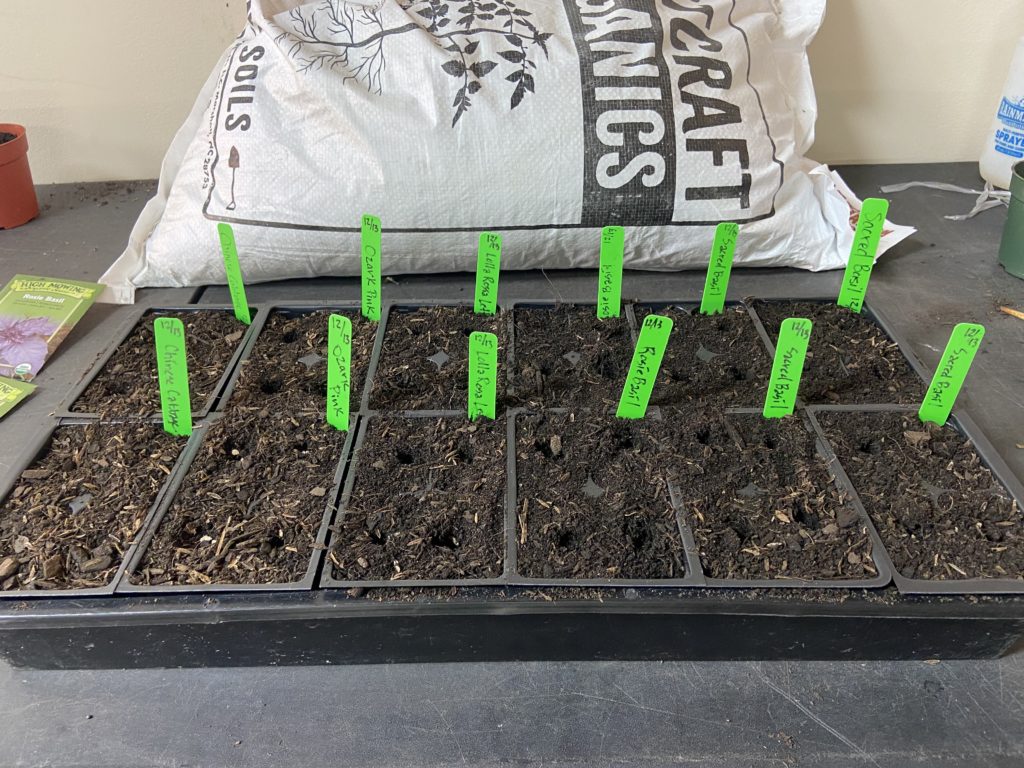
The basics of seed starting are universal and the optimal timing varies depending upon what you are starting. We will cover the recommended materials, procedures and specific seeds to start at this time of the year. If you’ve never started your organic garden from seed, this guide will set you off on the right path. If you’re experienced, please share your insights and tips in the comments section below!
Materials
- Organic Seed Starting Mix: Seed Starting mixes differ from other growing media due to their fine particle size and low nutrient content. These products are formulated to provide optimal conditions for germination and the early life of your plants.
- Seed Starting Trays and Drip Pans: Seed Starting trays have multiple cells, each designed to hold one start once your seeds have germinated and grown a bit. Most trays also come with a pan to collect excess water from drainage. Seed trays that are designed for bottom watering are great. Simply remove the tray from the drip pan, fill the drip pan halfway with water, replace the seed tray and wait 20 mins. The cells will wick water to the optimal moisture level through a hole in their bottoms. Once done, simply remove the tray from the drip pan, discard excess water and return the tray. You’re done!
- Seed Starting Heat Mat: Most seeds will germinate in soil at room temperature or optimally a little higher (75F-80F). If you are starting your seeds in a climate controlled area, you may be able to do without a heat mat. But, if you’re starting them in a garage, basement or other non-heated area a heat mat is essential for success. Simply place your seed starting trays on your heat mat and the job is done. Today’s heat mats come with pre-set or adjustable thermostats and are easy to use. FSG stocks and has had great success with heat mats from AC Infinity. They are available in a variety of sizes and offer great value as they will work for multiple seasons.
- Light Source & Timer: Once your seeds germinate, they will need a consistent light source to grow to their best potential. While a south-facing window can work, starts that only have access to natural light can become “leggy” as they stretch to the light. “Leggy” starts are likely to struggle when it comes time to move them outside. The solution is to provide a consistent source of artificial light which is optimized to provide the required spectrum for healthy vegetative growth. Fluorescent T5 lights or Horticultural LED are great for this job. A timer for your light is recommended as well. Most starts will thrive with 12-18 hours of light per day. Place the light close to, but not touching your starts and adjust the placement as the starts grow. If you notice some burning on your starts, the light is too close. If the starts are becoming “leggy,” it’s too far. Take your cues from your plants and you will have success. To learn more about lighting options, please see our Introduction to Lighting blog post.
- Fan (Optional & Recommended): A fan that moves the air around your starts, post-germination, will help your plants to develop tensile strength and stronger cell walls. Remember that they will ultimately be exposed to all the elements, so preparing them now is helpful. The air flow should be directed so that your starts are gently swaying in the breeze. Adjust fan placement and speed as your starts grow.
- Seeds: More on this later!
Procedure
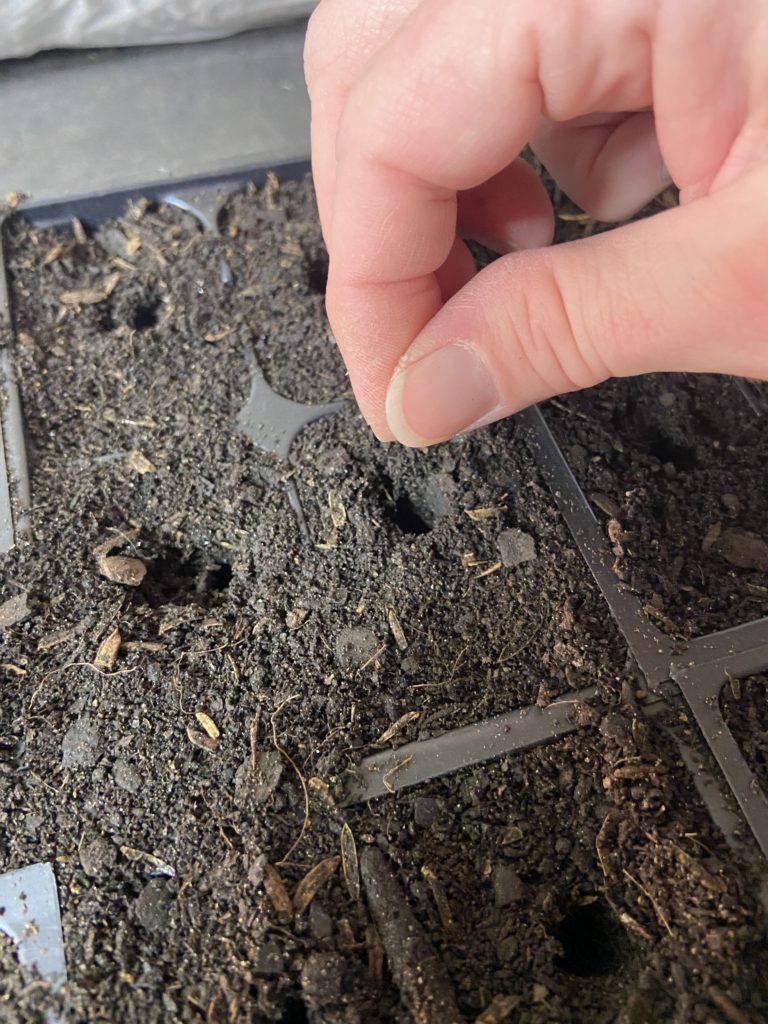
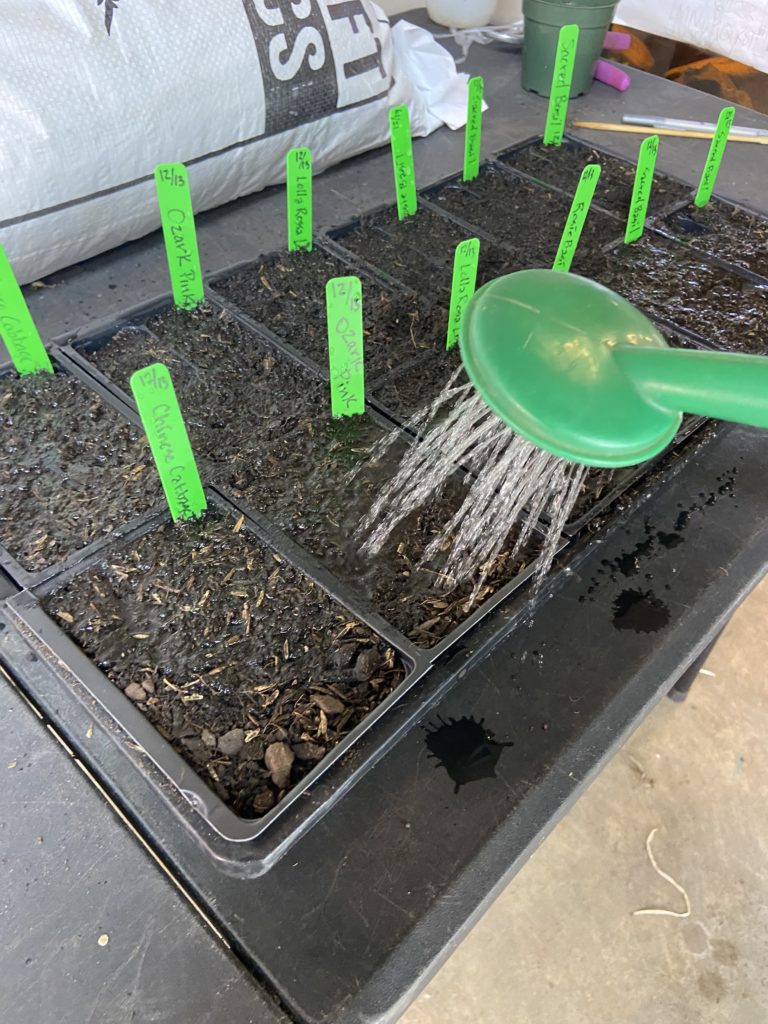
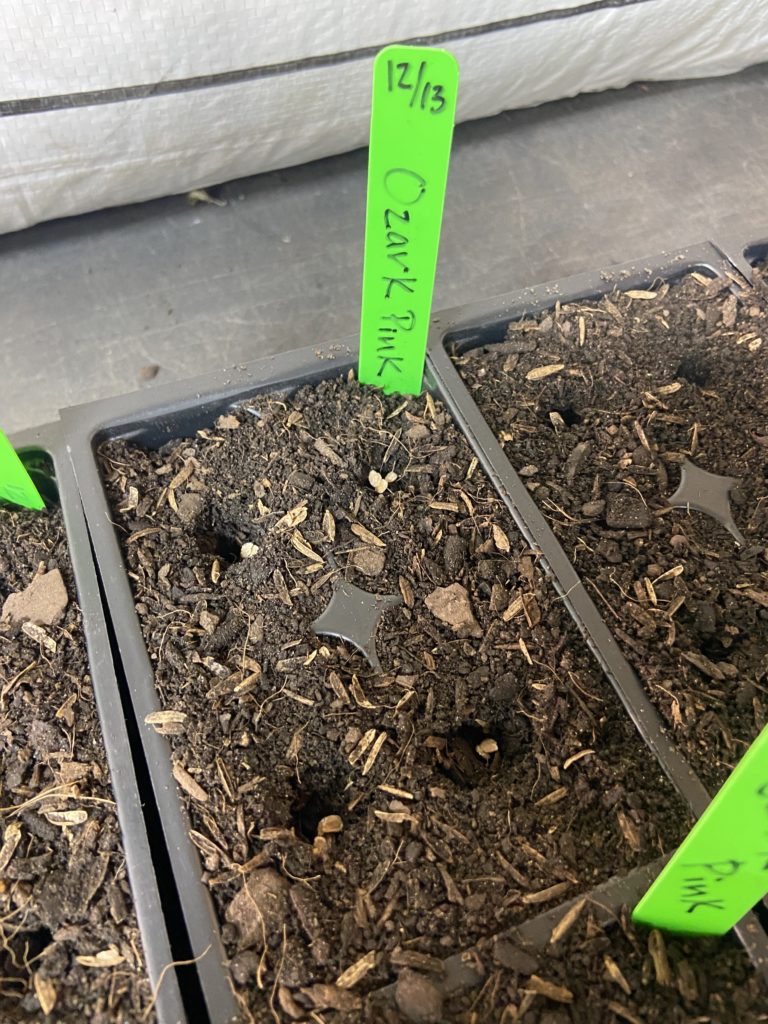
Fill the cells of your seed starting tray close to the top. Once watered, the soil will compact a bit. Place 2-3 seeds in each cell and, using a narrow rod (pencil, toothpick, etc), push the seeds into the mix to the recommended depth found on the back of the seed pack. Then water, cover and wait. Many seed starting trays come with a dome to retain moisture. If yours doesn’t have this feature, plastic wrap will also do the job. Seeds should stay moist, but not wet, and covered until they germinate.
Once your seeds germinate it’s time to uncover your seed starting tray and provide artificial lighting. Depending upon what you’re growing, germination can take anywhere from a few days to a couple of weeks. Patience is key. As much as possible, group seeds in a tray with similar germination timings. If some seeds in your tray have germinated and others are yet to do so,
it is still recommended to uncover the tray. Too much moisture can lead to seedling death. Just make sure that the yet-to-germinate cells don’t dry out and the full tray will still be successful.
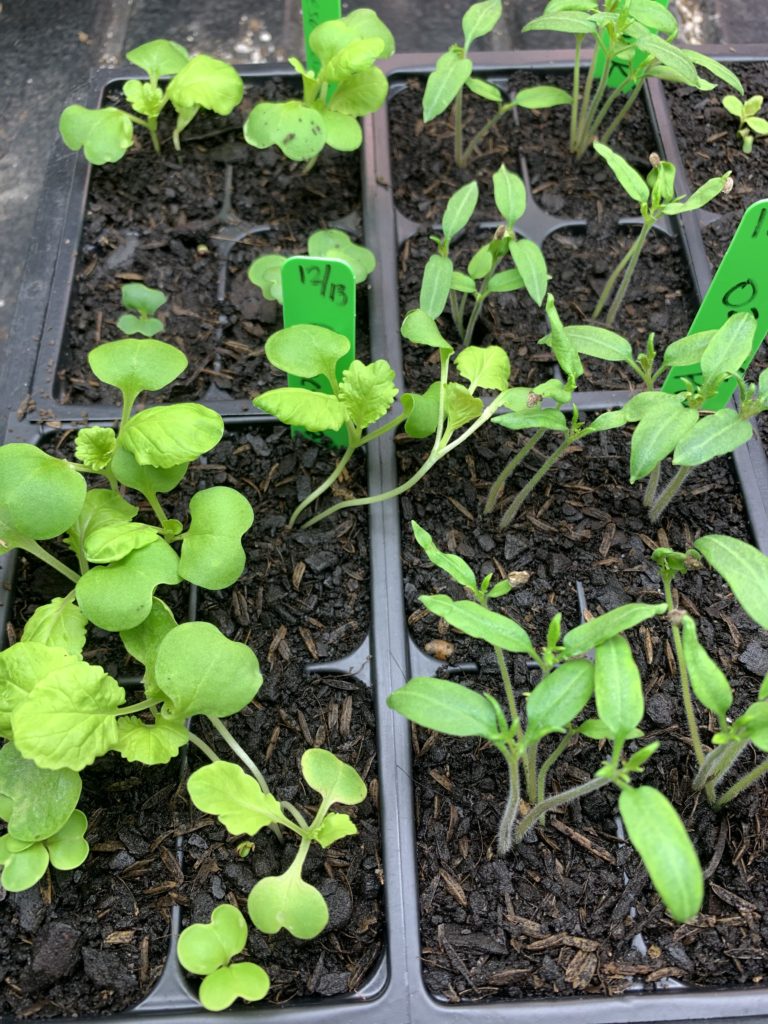
After your seedlings have grown to an inch or so in height, it’s time to thin them to one plant per cell. Leave the strongest seedling and remove the weaker ones. Snipping with scissors or clippers is much preferred to pulling as this will not disrupt the young root structures.
Now that we’ve got one seedling in each cell, it’s a process of maintaining appropriate light and moisture levels to help them mature into strong plants. Soil mix should be kept moist throughout the process. If the tray feels light when lifted, it’s dry and water needs to be added. If it’s heavy, your moisture level is likely good. Just be sure to keep an eye
on your starts and adjust lighting, fan level and moisture levels as they grow to maintain health.
As for fertilization, your starts won’t need additional nutrients until the second pair of leaves develop. Up to that time, the seed itself provided the seedling with all the food it needed. If your seed starting mix was amended (contains nutrients) you won’t need additional nutrients for several more weeks. If it was inert (no nutrients) use a highly-diluted fertilizer designed to promote vegetativ
e growth. These will have a higher Nitrogen (N) content but may contain other nutrients as well. Less is more in this situation as too much fertilizer can burn tender starts. We can help you select the right fertilizer for your situation!
The Seeds to Start Now
We saved the best part of this blog for last. Generally, we recommend starting 20-30% more seeds than starts you plan to plant in your outdoor garden. Even with the best preparations, some starts may not succeed. Additional quantities cover you in this case. Also, if you end up with more starts than you need…they make great gifts for friends and family!
Now is the right time to start:
- Veggies & Herbs: Kale, Cabbage, Cauliflower, Collards, Broccoli, Leeks, Lettuce, Spinach, Chives, Marjoram, Sage, Parsley, Lemon Balm, Thyme, Brussels Sprouts, Peppers
- Flowers: Petunias, Impatiens, Lavenders, Butterfly Weed, Foxglove, Snapdragons, Flowering Verbenas
Please consider the above recommendations as inspiration. These and many more edibles and flowers can be started now and will make a great transition to the outdoor garden in the coming weeks and months!
Looking Forward to March
March is the official start to the outdoor growing season in our Zone! We will cover outdoor planting from seed, continued care for your February starts and additional seeds to start in March!
Thank you for taking the time to read through this guide. We welcome your comments and questions. Happy organic gardening!

MB says
What seed starting mix do you carry & recommend?
brian says
We carry Sprout Island from Coast of Maine, Levitation from DirtCraft (Peat-Free too!), and Light Warrior from FoxFarm. All certified OMRI Organic and we have had good results with all. We also have supplies to make your own custom mix if you like! Stop by or call and we’d be happy to help.
John says
Thanks! First time seed starter here. Wish me luck.
Mary Ann Smith says
I would recommend adding 20% mix of fresh worm castings to your germination mix as well. The castings improve germination rate, increase the speed of the germination and establish a beneficial microbial zone in the rhizosphere that will enhance plant health for the duration of the plant life. I’ve done numerous plant growth studies that verify these benefits.