Today’s post is a conversation with Steve from Winston-Salem, NC. In his spare time, he is an organic gardener and home brewer. He’s also kind enough to shop at FSG (Thank you!).

Steve has been growing his own hops for a few years now and we thought it would be fun and useful to get his insights on growing this great plant. We hope you agree!
Please introduce yourself to our readers.
Hi, well you already shared my name, some of my hobbies and my home town. Other things that are important to me include my family, spending time in nature and my 180 lb Great Dane Ashe. He’s a lot to handle…but Ashe is a good boy!

How did you get started gardening and home brewing?
Originally I’m from Oregon where I’m proud to report that both are alive and well. For sure, growing up out West helped to spark my interests.
For me, the pleasure is in the process. Nurturing a small seed to produce pounds of delicious food or turning a few simple ingredients into a complex brew is remarkable when you take a step back and think about it.
Being able to share the fruits of your labor with friends and family is awesome too!
Ok, let’s get down to business…please tell us about your hops!
I just completed my 5th annual hops harvest. Like all perennials, the first couple of years were pretty slow while the rhizomes did most of their work below the soil to gain strength. By year 3, things changed and I’ve been enjoying robust harvests since then.
What tips would you share with someone that wanted to grow hops?
Hops are relatively easy to grow, but there are some things to keep in mind:
- Patience is key. It will be a few years before you have significant harvests
- The right spot is essential. Hops are most productive in full sun which can be a challenge for new plantings in our climate. Be particularly vigilant about watering for the first couple of years. Not too much and not too little!
- Once established…hop vines will grow voraciously! You’ll need a large trellis to keep them under control and to maximize your harvest
- When you cut your vines back for harvest, leave about 4 ft of growth to continue to catch sun and to help power-up for next year
- While I don’t always do this, an annual top-dressing with organic compost and fertilizer would be a good idea too
How do you trellis your hop vines?
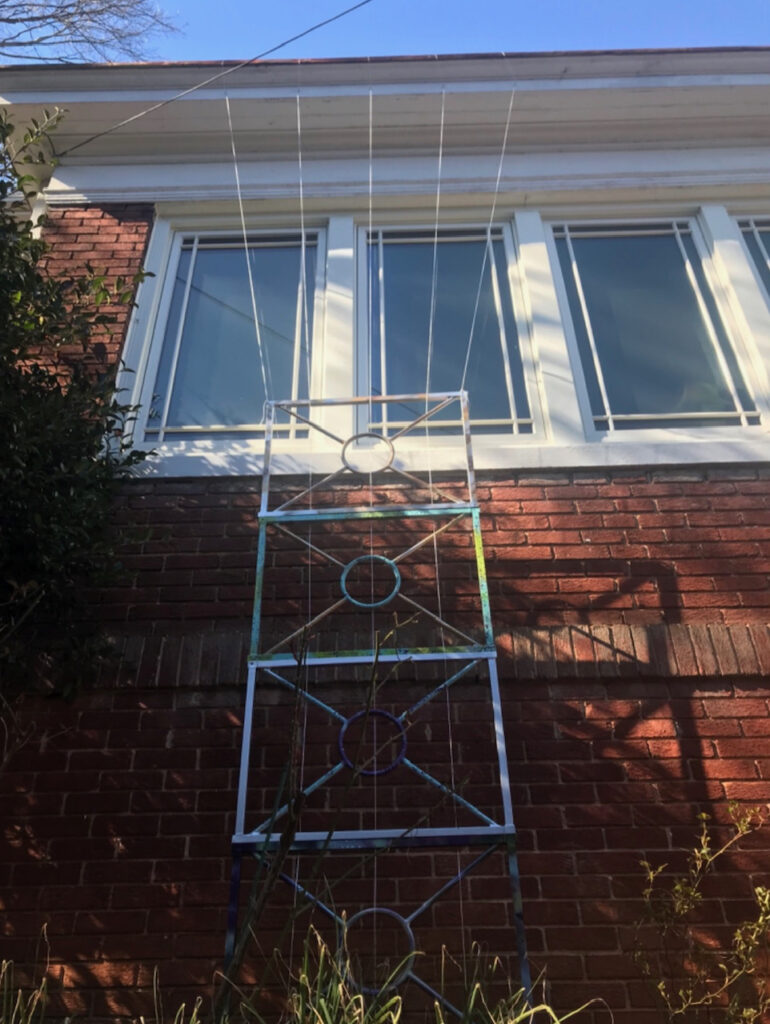
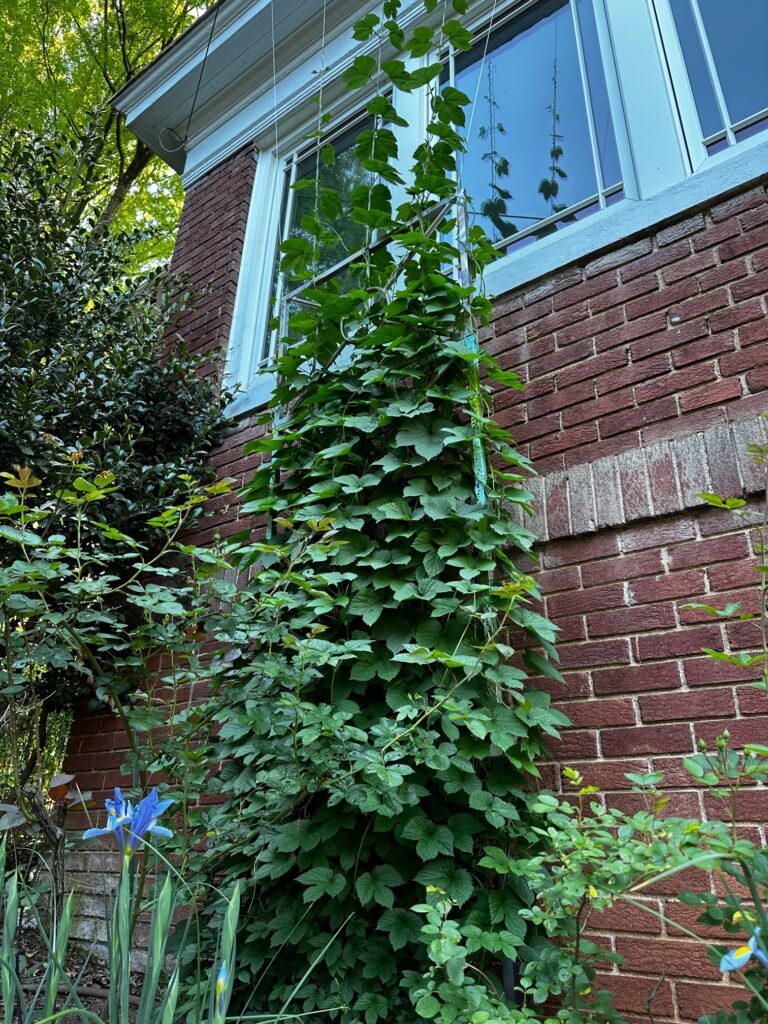
I repurposed the base of an old patio shelter to make a 6’ tall physical trellis and then ran lines of twine from the top of the structure to the top of my house. My neighbors gave me funny looks in April when the hops were all of a couple of inches high. By July, the vines had pretty well reached the second floor!

This method worked well because at harvest time all I had to do was to cut the twine and lay the vine on the ground. It’s a much better method than trying to harvest the hops from a ladder. Safety first!
Speaking of harvesting hops, how do you know when it’s time?
Fortunately, hop flowers are pretty much ready to harvest all at once. Sometimes you have some early bloomers that you can just let die on the vine while the rest ripen to perfection. In my experience, they tend to be ready in late August, but this can vary depending upon conditions.

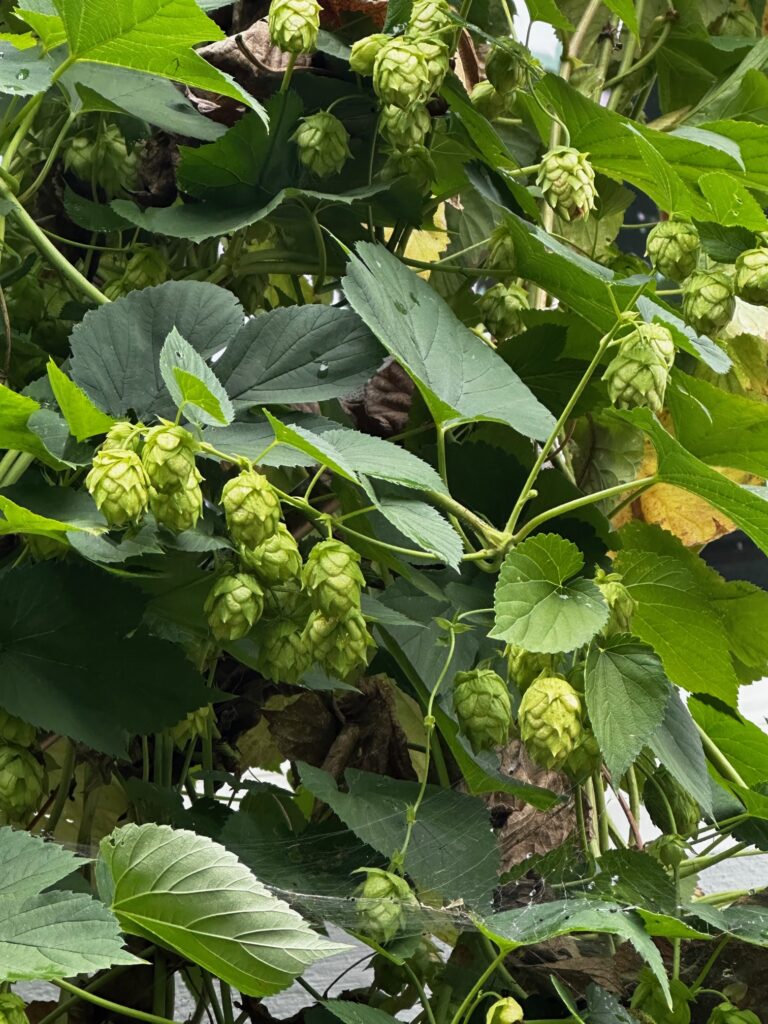
You’ll know they’re ready when the vines are full of yellow-green flowers that haven’t quite fully opened, they bounce back to shape when lightly squeezed, have small yellow pollen dust between the petals and smell like fresh cut grass when rubbed between your hands.
After you harvest the hops, how do you process them?
Beer recipes call for hops based on dried weights. I simply dry mine in a food dehydrator and vacuum seal them until I’m ready to brew.

How big was this year’s harvest and what will you make with your hops?
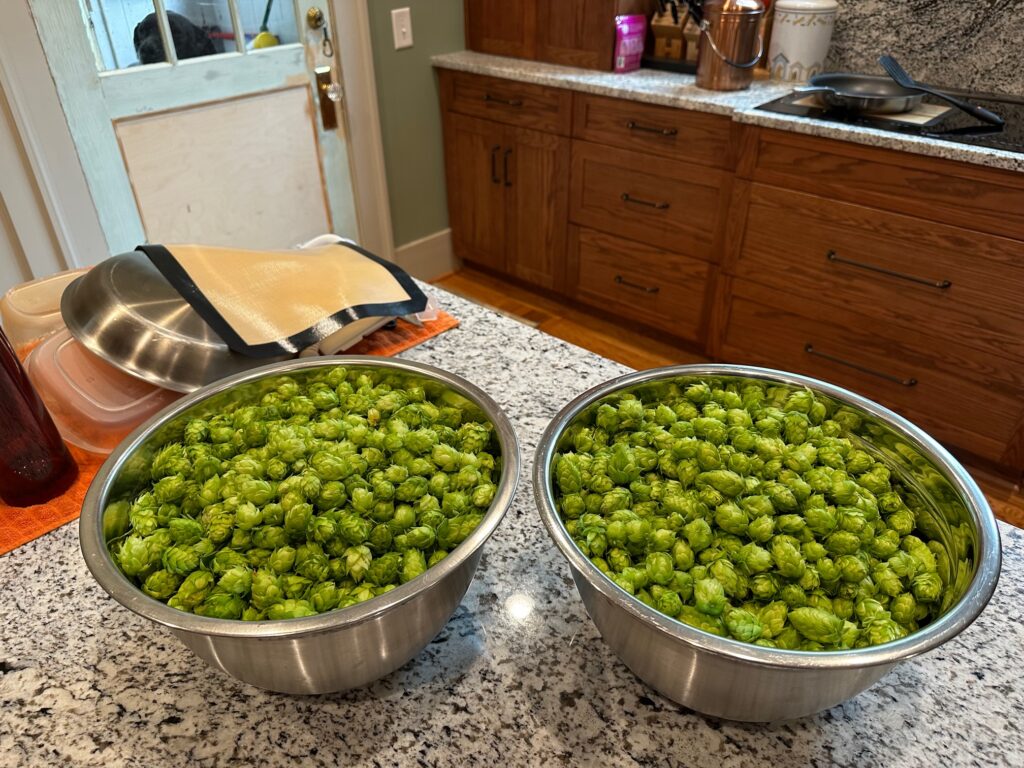
Once dried, I got a little over 11 oz. of Cascade hops. I’ve been working on a new grapefruit IPA recipe that I think they’ll shine in.
That sounds delicious…please let us know if you need any help with the drinking!
Thank you so much for sharing your time and experience with us.
Cheers!

Kerry says
This is amazing!!