-Ginny Shafer-
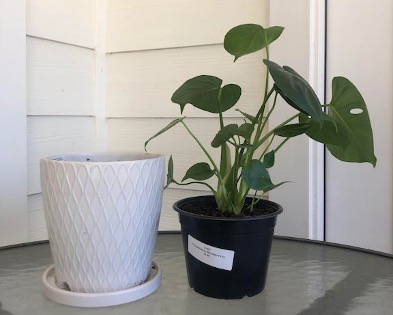
You’ve found your perfect houseplant, a high-quality potting mix, and a pretty pot that meets your plant’s needs; now the last step is to repot it! Before getting started, make sure to water your plant a few days before you repot it to help prevent it from going into transplant shock.
In my last repotting guide I talked about my preference for pots with drainage holes. While I still strongly recommend that any pot you get have at least one drainage hole, I understand that sometimes you just fall in love with a pot that doesn’t have any drainage, and you’d rather plant in it than use it as a cachepot. There are several ways to remedy this. One trick is to fill the bottom of the pot with hydroton, creating a space for excess water to flow away from the soil. If you’re an incurable overwaterer like me, however, you may want to try my favorite plant hack: use a diamond-tipped drill bit to make your own drainage holes! You can find a bit meant for drilling through porcelain tile at most hardware stores, and I’ve never had a pot break using this method.
Now on to the repotting process!
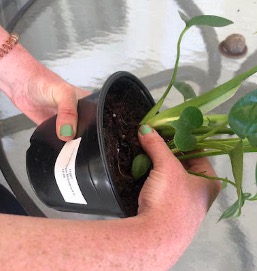 First, do your best to take the plant out of its original container without damaging the roots. If it’s in a plastic container, you can squeeze the sides and bottom of the pot while gently pulling on the base of the plant. It may help to tilt the plant upside down or on its side. If your plant is in a more rigid pot, you can run a clean gardening trowel or butter knife around the inside of the pot to help loosen the plant from the sides of the container. This will probably end up breaking a few roots, but since it’s spring, they’ll grow back quickly.
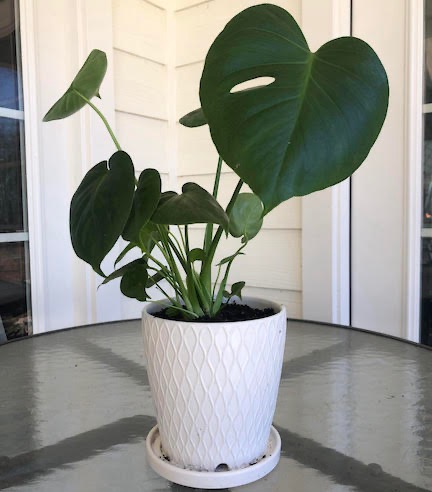
Once you get the plant out, you can see how tightly the roots are holding their shape. This is called the root ball. Depending on how tightly bound the roots are, you may want to loosen the root ball by squeezing it and gently pulling the roots apart until more of them are hanging down freely. This will increase the roots’ surface area that can be in contact with the soil, which will help the plant to absorb more nutrients once it’s in its new home. This monstera deliciosa isn’t root bound, but loosening the root ball will still help it grow.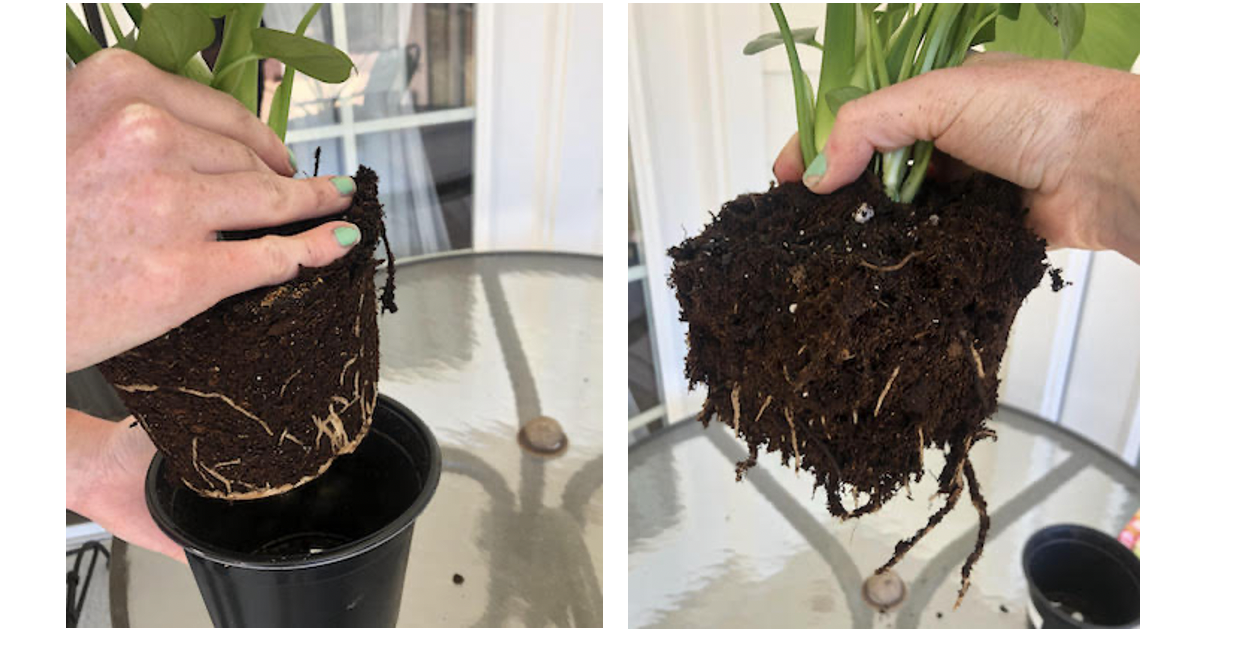
Set the plant in its new container to get an idea of how it’ll look. You’ll want to have at least half an inch of space between the top of the root ball and the top of the container. If you have more space than that, fill the bottom of the pot with a little bit of Happy Frog or Coast of Maine potting soil, and put the plant back in on top of the soil. You don’t want to bury the crown of the plant too deep, or you’ll be inviting root rot. Add or remove soil as necessary to get the plant to the appropriate height in the pot.
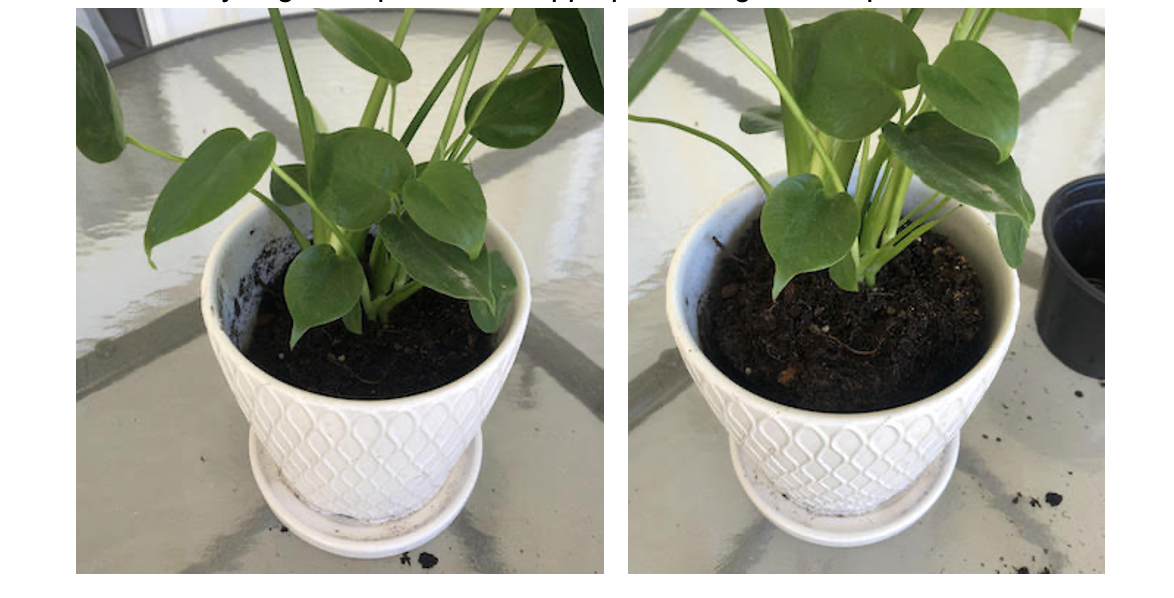
Once you have the right amount of potting soil at the bottom of your pot, it’s time to fill in the gaps. Pour soil into any empty spaces in the pot. Make sure to gently press the soil down to ensure the root ball is fully covered. Don’t press too hard though, since you don’t want to compress all the air out of the soil. Fill the pot to the top of the root ball, making sure you leave some space at the top of the pot so that when you water, soil and water don’t overflow out of the pot.
The last step is to give your plant a good drink of water. The soil level may be lower after the water has soaked through and settled the soil. If this happens, add more potting soil until the root ball is fully covered again. And with that, you’re all done! Give your plant some fertilizer as often as necessary during the warmer months, and enjoy!

Morgan Burns says
Awesome points such a beautiful full post, thanking so much for giving this great post.
Yvonnne says
Thanks truly needed that information.