A properly aerated wort is crucial to ensuring a clean, rigorous, and complete fermentation. Yeast cells generally need about 10 ppm dissolved oxygen in the wort in order to function properly. A lack of oxygen can negatively impact your brew in a number of ways.
First, some background. Yeast cells need oxygen in order to reproduce. The oxygen is a critical component in the production of cell membranes, organelles, and various compounds the yeast need to produce in order to survive. In essence, if yeast does not have enough oxygen then their growth phase will be cut short and this can affect your final gravity (attenuation), the speed of your fermentation, ester production, and result in the presence of a number of undesirable compounds in the final product. (Yeast: The Practical Guide to Fermentation, White/Zainasheff).
For example, all yeast produce a compound known as diacetyl during fermentation. Diacetyl is a byproduct of a normal metabolic pathway and can be desirable in trace amounts. However, in higher concentrations diacetyl comes across as buttery, buttered popcorn, or butterscotch and can come close to ruining a beer. In a healthy fermentation the yeast will produce diacetyl during the primary phase and then, once carbohydrate metabolism is complete, they will go back through and absorb the diacetyl in solution. However, if there were not enough healthy yeast cells to begin with then you will end up with diacetyl in the finished product because, while there were enough cells to produce diacetyl, there were not enough left to clean it up. Proper aeration is crucial to ensuring you have enough healthy yeast cells to get the job done.
Aeration kits are available in the Fifth Season web store here.
Here’s a guide to using your aeration kit, ensuring you have healthy yeast!
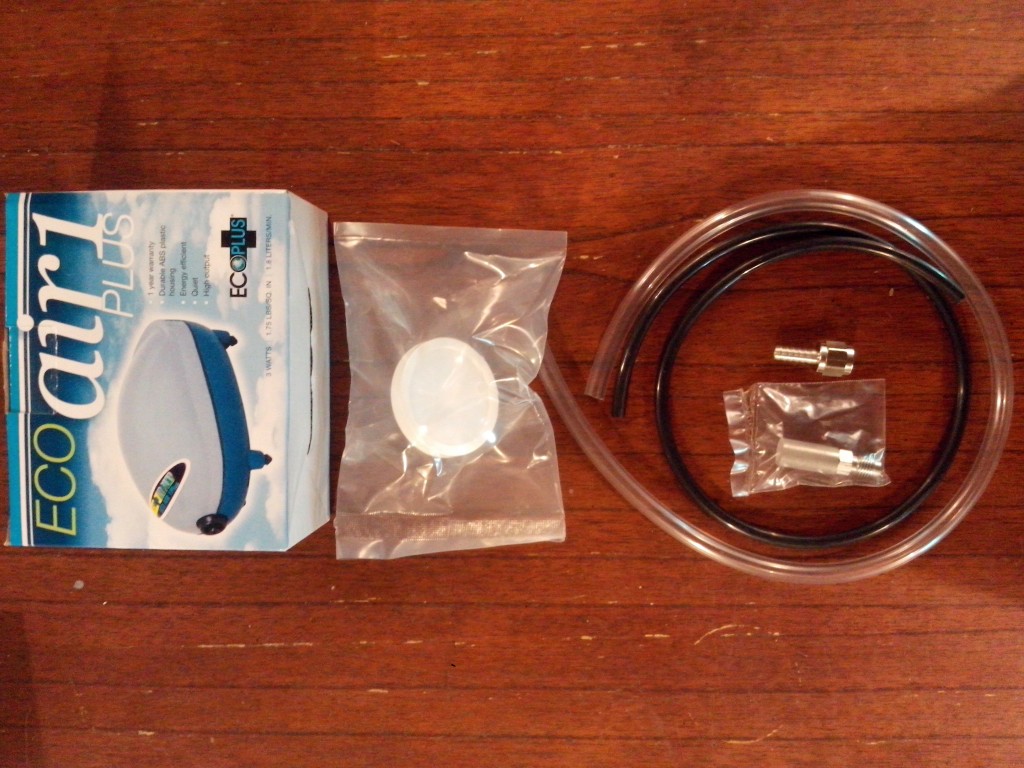
1. First things first, congratulations on your purchase of a Fifth Season Aeration Kit. You’re now one-step closer to having better tasting beer! Once the overwhelming excitement has become manageable we recommend pulling the contents of your Aeration Kit out of the box and spreading them out on a table or countertop. This step will allow you to become familiar with the pieces that you’re working with.
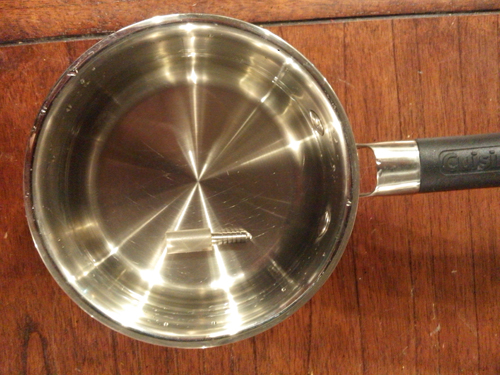
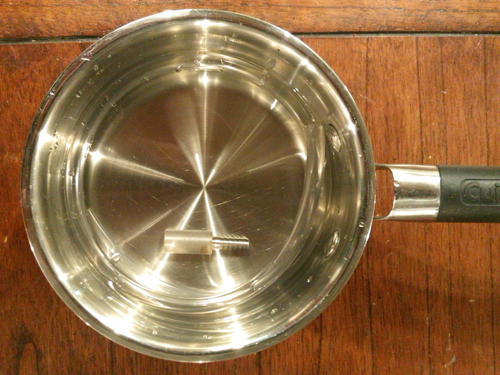
2. While you’re checking everything out you can go ahead and begin heating a small volume of water on your stovetop. Once the water comes to a boil you can add your Diffusion Stone and let it go for at least 2 minutes. This step will serve to clean and sanitize the stone.
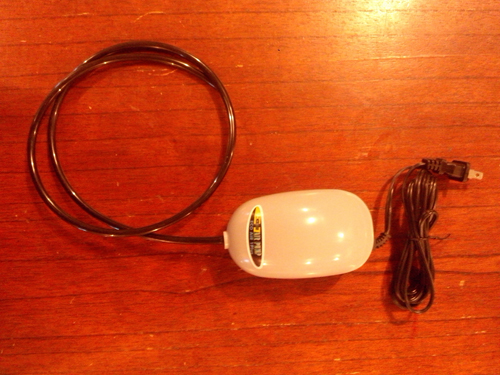
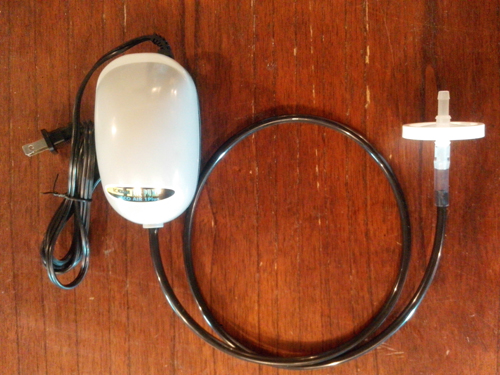
3. Now that the water is heating up you can begin to assemble your setup. Begin by attaching the length of black tubing to the body of the air pump. This should be as simple as pushing the end of the tubing over the outlet on the front of the pump, no clamps required.
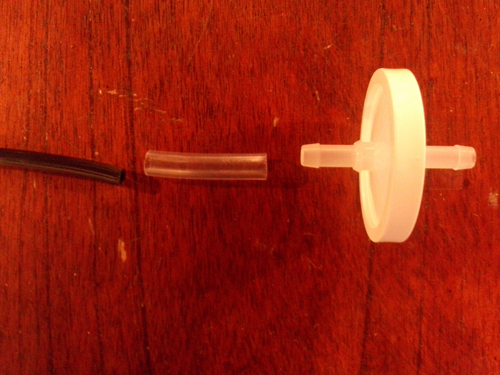
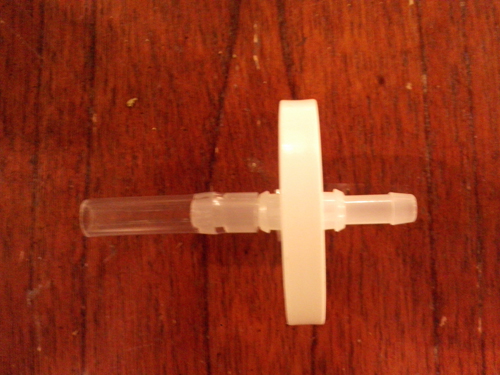
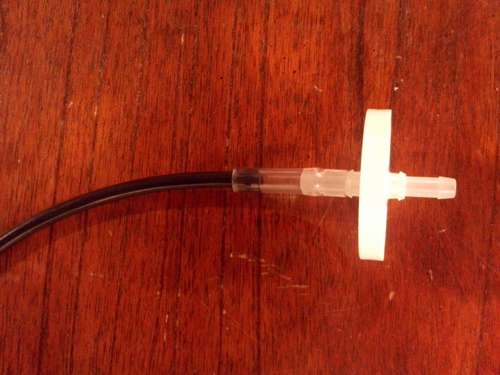
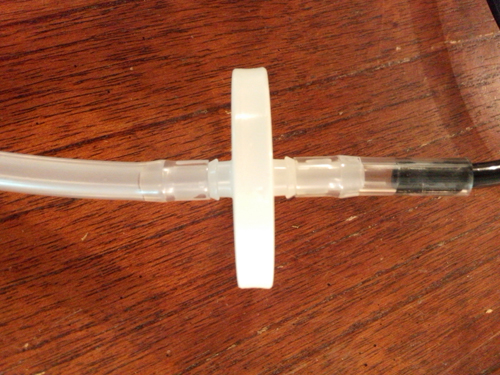
4. In order to connect the black tubing to the inline sanitary filter you will need to cut a short segment of the clear tubing provided to act as a coupler. A 1” – 1 1⁄2“ segment will be sufficient for this purpose. It doesn’t matter which end of the filter you connect the clear tubing to. However, once you pick an end to use then you’ll want to keep it connected to that end. This way the air will only move in one direction through the filter and you’ll always know which end air is entering because it will have the clear tubing on it.
5. In order to connect the pieces you will simply need to push the clear tubing onto the inline sanitary filter and then push the black tubing into the open end of the clear tubing. The seal should be airtight and no clamps should be necessary.
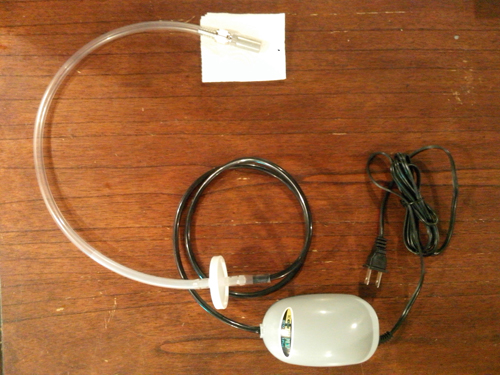
Your setup should look like this:
6. Once you have assembled the bulk of the aeration kit it is time to sanitize your clear tubing. The easiest way I have found to do this is to push the Swivel Nut Hose Stem into one end of the clear tubing and drop it in the small pot of boiling water with the diffusion stone. This step will perform the dual function of sanitizing and softening the tubing. If your tubing isn’t softened prior to going into the fermentor then it may curl and that might prevent the diffusion stone from reaching the optimum depth in the fermentor.
7. Now that everything is sanitized we have the final pieces of the puzzle. You will need to pull the diffusion stone and the tubing out of the water and place them on a clean paper towel. A pair of tongs works well for this. The tubing will be extremely soft from the heat. Use a paper towel or latex glove to hold the diffusion stone, as you do not want to clog any of the holes with the oils from your skin.
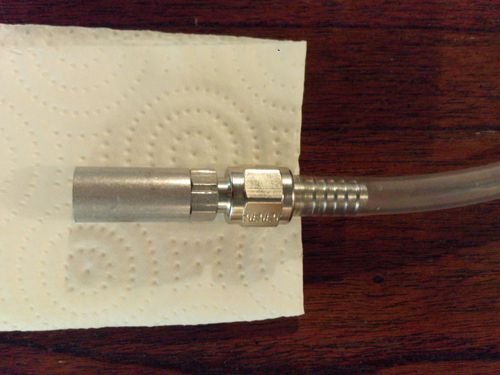
This is how the clear tubing and the diffusion stone connect:*
8. The last step you’ll have to take is to push the other end of the clear tubing over the free end of the inline sanitary filter.
Pic 10. Congratulations! You have fully assembled your Aeration Kit and it is ready to be used. All that needs to be done at this point is to plug in the air pump and immerse the diffusion stone in some wort.
*If you notice air bubbles coming from the connection between the clear tubing and Swivel Nut Hose Stem then consider using a hose clamp for this connection. If you notice air bubbles coming from the connection between the Swivel Nut Hose Stem and the Diffusion Stone then consider using Teflon tape on the threads. We have not yet had any issues with these connections.

Leave a Reply