-James Gordon-
Hello everyone! Welcome back to introduction to hydroponics. After going over so much in the last few hydroponics blogs on how to grow in your system, today we will go over cloning in hydroponics. So let’s keep an open mind, take some notes, and hopefully this will help you learn a few things about cloning.
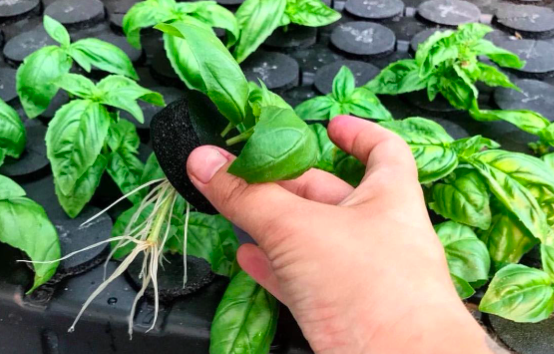
When it comes to cloning, I personally felt intimidated and challenged before I ever tried it. Do not be afraid. It is not as complicated as it may sound. The hardest part of hydroponically cloning is actually cleaning your cloner system. But to get there we first need to understand what a good clone is and how to select it from our mother plant.
When selecting a mother it is important to remember that the mother is the best version of your selected genetics. Do not just pop a pack of seeds and take clones from all the plants they make. Only one plant should be your keeper, and the keeper cut is only selected after a process of elimination which shows what cut is the best. That is your keeper cut and now mother to all your future clones. Mother plants should be made to produce a lot of tops. The tops are the best cuts to take to make clones. Do not take cuttings from the side branches or under brush, for that will only make a substandard clone. You want to start out strong, and the tops get the most nutrients from the plant as the plant gets bigger. Once you have gone through the tops of the mother plant and you see a healthy amount of tops to take, go ahead and cut them 4-6 inches or three nodes down from the cutting top. Have a cup or glass of water (either reverse osmosis, distilled, spring, or off-gassed tap water) filled about halfway, and place the cutting you have taken directly into the water as soon as you take the cuts.
After taking cuts and placing them into our holding cup with water, we then need to get the cuts ready to be dipped into cloning gel, put into their growing medium, and activate the system that feeds them our clone nutrient solution. First off let’s talk cloning gel. At Fifth Season we have several options to pick from, including Rootech, Clonex, and Olivia’s.
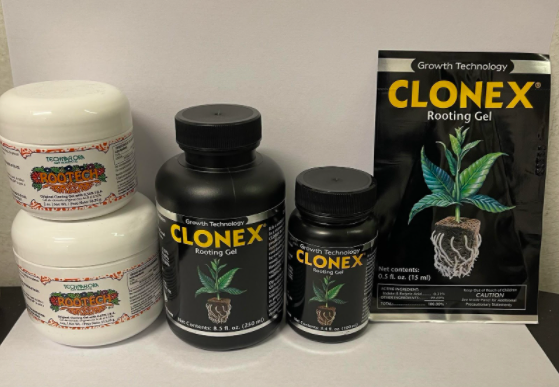
Once you have your desired cloning gel, take one of your cuttings out of the glass of water, cut the already cut end one more time, and cut about half an inch off the bottom end at a 45 degree angle. Then dip and twist the newly cut end into your cloning gel and place into your growing medium. Different systems require different media as we will explain below.
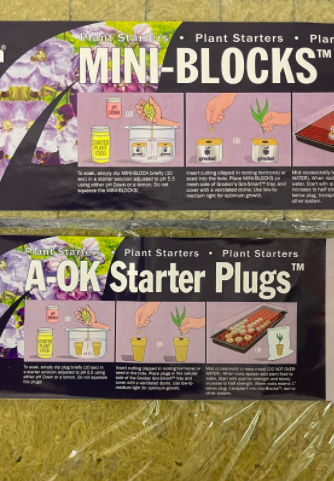
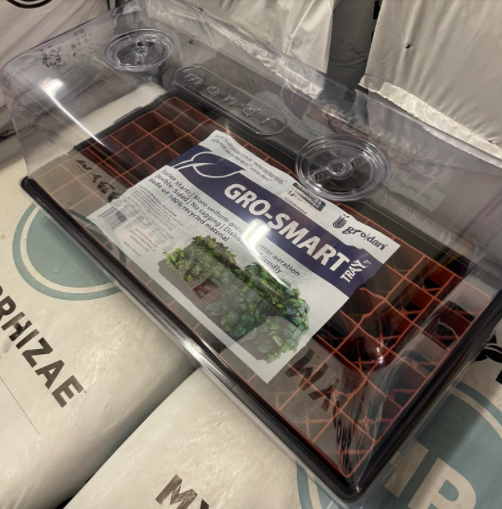
Now we are going to take a moment to go over what cloning methods you should use for hydroponics. For this blog we will focus on the three major ones. First off is cloning in Rockwool cubes. This method is very similar to taking clones and placing them in plugs. It’s actually exactly the same, except preparing the rockwool plugs takes some rinsing of the cubes and then soaking the same cubes in pH-controlled water before putting a cutting into it. Once the cubes are soaked, you’re ready to put your prepared cutting into its new home. The Rockwool cube has a pre-drilled hole in it. Ignore this and do not use it. Select a spot halfway from the hole and corner of the cube and push the cut clone gel stem down into the Rockwool making a new hole. This will hold the cutting in place and give it a better shot at roots forming in the cube. Caution: do not squeeze the Rockwool cube. The best Rockwool cubes for this application are the “Mini-Block” and “A-OK Starter Plugs”. Once you have your cube all prepped and ready with your clone, put it into the “Gro-Smart” Rockwool” starter tray. It fits perfectly into one of 10×20 starter flats that will require a 7-inch humidity dome.
Now let’s move on to the other two ways to clone hydroponically. Aeroponic and deep water culture cloners are the most efficient automated irrigation cloners.
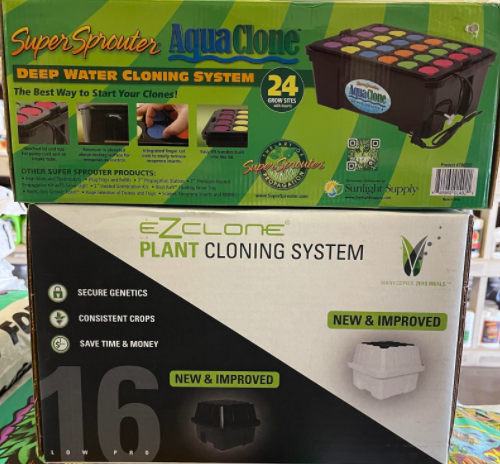
Both use cloning collars to hold cuttings after they have been dipped into cloning gel. They suspend the cutting stem below the collar in the system’s water reservoir while the plant top (canopy) is still above the collar. In a deep water culture system, the bottom stem is submerged in a water and nutrient solution that has a submersible pump circulating the water continuously. In an aeroponic system, the cutting end is suspended in air above the water level of the reservoir while a series of sprayers hooked to a pump continuously spray in all directions applying the reservoir’s nutrients to the cutting.
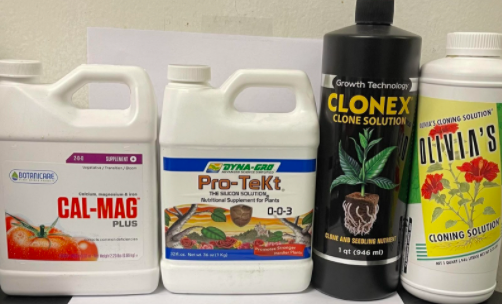
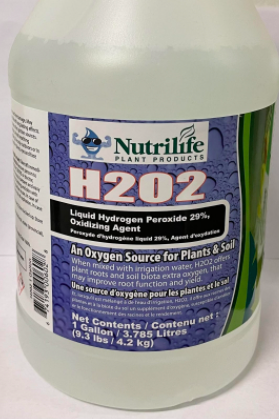
A good nutrient solution recipe for all three cloning methods is pretty easy. I personally would recommend using a silica, cal-mag, and a liquid cloning solution along with H2O2 as a cleaning and sanitation agent. When mixing, use; silica first then mix. Use cal-mag second, mix. Add cloning solution third, mix. Then pH balance the solution you have just made. After you adjust pH, add about half a tablespoon of cloning GEL to the solution and mix very thoroughly until dissolved. Add this to your reservoirs for aero and deep water while hand watering this into the Rockwool cubes and also spraying the inside of the dome before closing it. After the first day add 3-5 ml of H2O2 to your reservoirs. On day 3-4 change out your reservoirs and put in a new batch of nutrient solution, but this time after you adjust pH, add 2 ml of H2O2. Then two days after that add 2 ml more. Keep changing the water out every 3-4 days until roots have developed to desired lengths.
Well everyone, that’s cloning with hydroponics. If you have any further questions feel free to email or call our stores. We carry all the products talked about in this blog both at our FSG stores and webstore! Be sure to call or look online to check our current inventories of all products so we can better assist you in whatever you need. Again I’m James at FSG Raleigh. Hope you have a lovely day and remember to plan before you plant. Cheers!

Leave a Reply