-Kristin Weeks-
Terrariums make a great gift for just about any occasion, and with Mother’s Day coming up this weekend, we thought we’d turn this week’s blog post into a tutorial for creating the perfect terrarium!
What exactly is a terrarium? Terrariums are miniature, self-contained ecosystems that make beautiful focal points, are simple to care for, and act as a reminder of our connection to the outdoors. Terrariums can be created in everything from a small spice jar to large blown glass bowl. If you’ve scoured Pinterest lately, you’ve likely discovered even more wild ideas like using lightbulbs, science lab flasks, tea pots, or antique apothecary jars. For these reasons, terrariums are perfect for the office or home and have countless options for personalization.
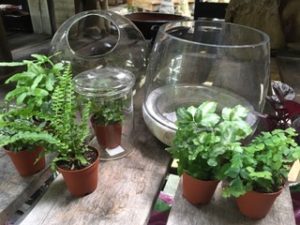
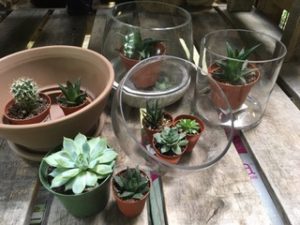
Where do I begin? When building a terrarium, the first thing you’ll need to decide is just what kind of terrarium you would like to create. Do you prefer the moist, lushness of tropical plants, or are you going for a more dry, rocky, desert-like aesthetic? Sometimes, you’ll find the perfect vessel or container first, which might help determine what kind of terrarium would be best. Closed terrariums, for instance, are more suitable for tropical plants because they trap humidity, which those plants prefer. Succulents on the other hand, do better in containers with a wide opening such as a bowl. Also, some containers just look better with certain terrarium styles. For example, I love the look of tropical plants in tapered vessels and find that air plants look fabulous in hanging glass So, first decide what kind of terrarium you wish to create or let your container guide you.
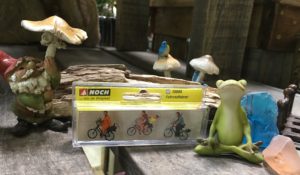
Gather your materials (and your vision) The next step is to gather your materials, including accessories (if using them). I suggest doing this next because you’re essentially beginning to craft a theme for your terrarium. Perhaps you have a collection of shells from your favorite beach, a special rock that carries significance, or some playful figurines (fairies, mushrooms, people, animals, or structures). You won’t add these to your terrarium until the end, but you’ll want to think about how they’ll be incorporated into the layout before getting started. It is also entirely okay to skip the accessories altogether.
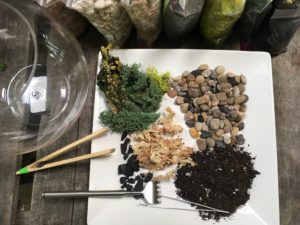
What You’ll need:
- Vessel/Container
- Drainage Rocks (pea gravel, Hydroton, or river pebbles)
- Sphagnum Moss
- Activated Charcoal
- Soil (regular potting soil or cactus mix)
- Decorative moss and/or sand (optional)
- Accessories (figurines, driftwood, crystals, shells, or other items from nature)
Now it is time to construct your terrarium! Begin by cleaning your vessel and tools with glass cleaner or mild soapy water, then thoroughly dry with a towel before planting.
First Layer: Drainage Gently pour your pea gravel, Hydroton, or river pebbles (whichever you’ve chosen for your drainage layer) into the vessel until ½” to 1” high. Be sure the vessel is on a flat surface, then position yourself to eye-level to see that drainage layer is visible. Part of “the look” is seeing the various layers.
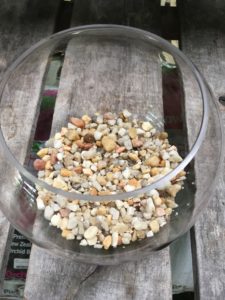
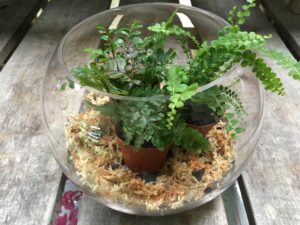
Second Layer: Sphagnum Moss The purpose of the sphagnum moss is to keep the soil from seeping into the drainage layer. Take a handful of the moss, dunk it in a cup of water, then ring it out well. Lay the moss down over the drainage layer so that it isn’t too thick yet is visible on the outside of the container.
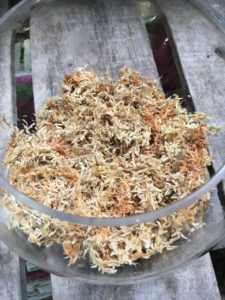
Third Layer: Charcoal Add a thin layer of charcoal granules. This filters out odors and harmful bacteria.
Before adding the soil, position your plants in the container where you want them to go. Make sure you have enough room for plant growth and for your accessories.
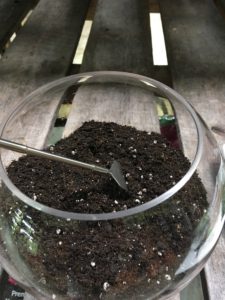
Fourth Layer: Soil Now add your soil. For tropical and closed-lid terrariums, choose a regular potting soil. Cactus Mix is best for succulents and cacti, as it contains sand for better drainage and dryness. Measure the height of your plant, and that’s how deep you’ll want your soil. I recommend that the total height of drainage layer, moss, and soil be no higher than halfway to the top to allow room for plant growth.
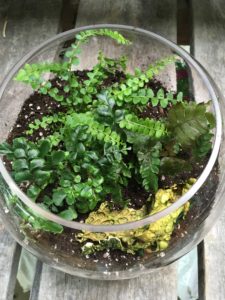
Now, it is time to add your plants. Use your tools or fingers to make a hole in the soil where you want your first plant to go. Remove each plug from the pot and gently loosen soil around the root system and place them into the hole. Repeat for additional plants. When you put in your final plant, level off the soil and gently push the soil down around each plant. This will help them become better rooted.
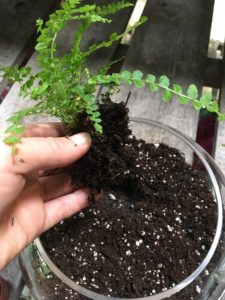
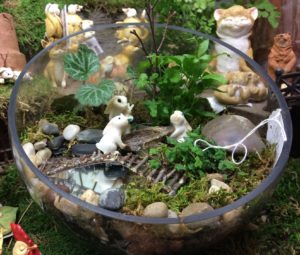
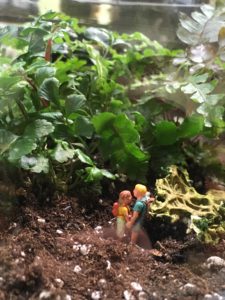
Finally, dress the top, around the plants with decorative moss (mostly for tropical terrariums) or sand/fine gravel (for succulent/cacti terrariums). Add in your figurines or nature elements and watch your terrarium begin to pop!
How do I care for this thing? Tropical and closed-lid terrariums will require indirect light and occasional watering. Closed-lid terrariums can actually go much longer (up to a whole year) without being watered since there’s nowhere for the humidity to escape to. However, I do recommend opening the lid every few weeks to to allow it to ventilate. Open terrariums with tropicals plants will need to be checked weekly for water. To do this, slowly add water in small increments until some trickles into the drainage layer. A foliar mist is also helpful. Succulent terrariums (technically called Desertariums) will require more sunlight but will only need to be watered on a monthly basis. Add a small amount of water directly around the succulent, but you do not need to water into drainage layer. The root system of a succulent is quite shallow.
If leaves begin to yellow, that is a sign that your plant might need some fertilizer. Use at ½ to ¼ the dosage on the bottle. Dyna-Gro is a good option.
Recommended Terrarium References Sold at Fifth Season Gardening!
- Terrarium Craft – Aiello & Bryant
- Tiny World Terrariums – Inciarrano & Maslow
- Gardening in Miniature – Calro
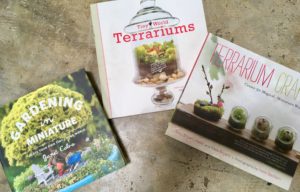
Visit your local Fifth Season Gardening store for products, expert advice, inspiration and planting help now through Mother’s Day (and beyond!). Ready-made terrariums available at selection locations!

Leave a Reply