As the new year picks up speed, it’s a prime time to get started on some of those hobbies you resolved to try on for size! Many out there may have found themselves with supplies or a brew kit from the holidays and are looking to get the ball rolling. Whatever the reason, there’s good news for everyone on the front end of the homebrew journey: brewing is a fun, rewarding hobby from the start, and isn’t as complicated as you might think! And if you’re looking to take the plunge but are still needing a setup, we have a lot of easy starter kits for the new hobbyist as well as supplies for all the more well-seasoned brewing enthusiasts out there as well.
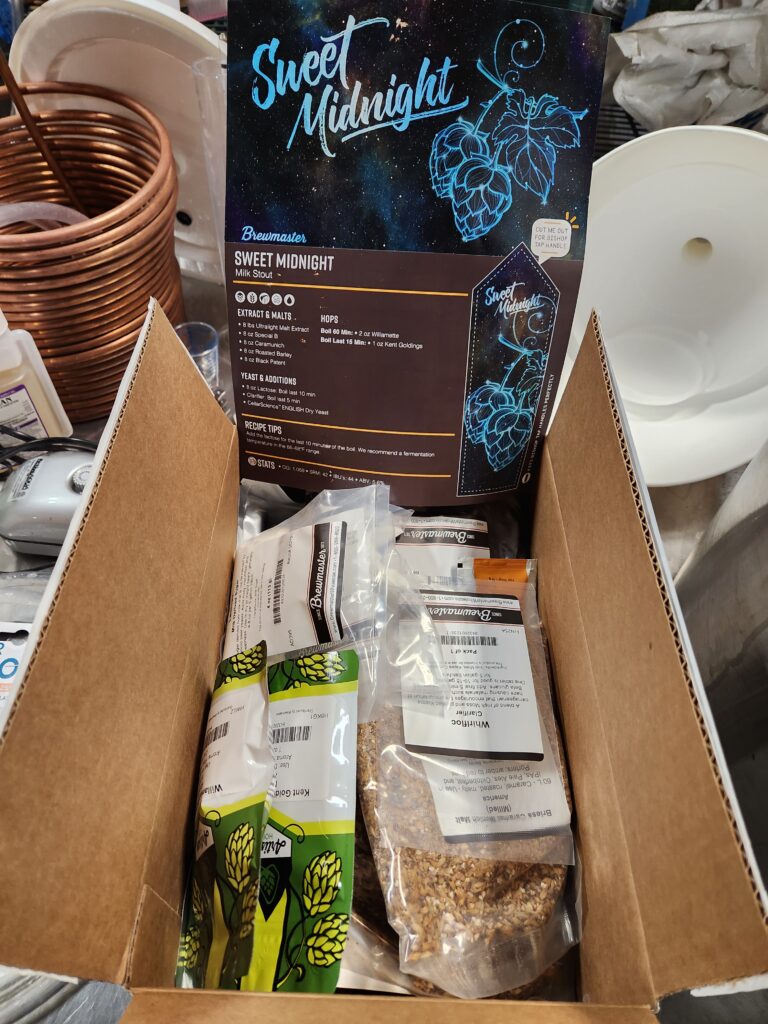
As a recent first time brewer myself, I can say it certainly helps to have a general idea of the overall brew routine before you get to turning the burners on. So I’ll give a quick run-down of the beer kit brewing process for those who haven’t tried their hand, or in case you just want a quick refresher. I won’t bore y’all with the nitty gritty details here, but if you have pressing questions give us a buzz or come on through the store! I’ll throw a short recounting of our first brew at the end too, so that you can learn from our mistakes and be confident in whatever style of brew you take on! (And if you’re wondering, our brew turned out just fine! A solid milk stout just as advertised. Some encouragement for those feeling a little overwhelmed by getting into the hobby!)
GETTING READY
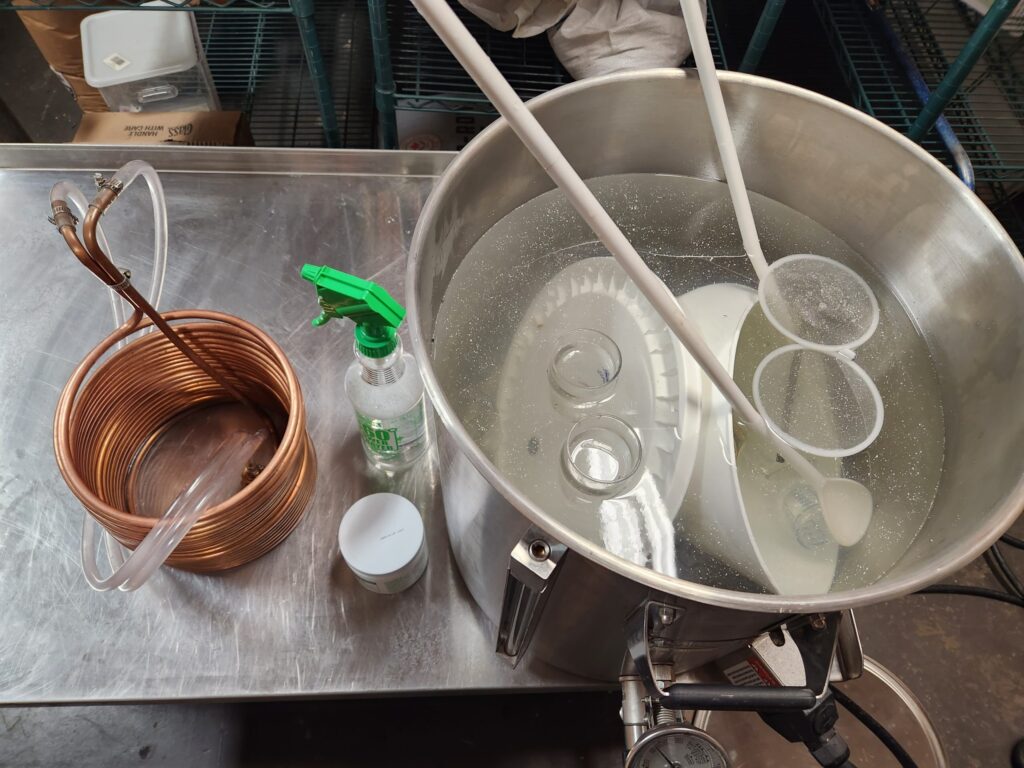
First off and before we get into anything else, the most important step for any brew day is: SANITIZING! Not very glamorous, but proper sanitization can make the difference between a great brew and tolerable swill. Make sure you have a brew-oriented sanitizer like iodophor or Star-San. It’s also a good idea to lay everything out on your workspace before you start, so you can a) be sure you have all the right supplies, and b) save yourself some time while sanitizing or going through the motions during the brew proper.
WHAT TO EXPECT
So, brass tacks: you want to dive in, but what will the process look like?
A lot will depend on if you’re using a kit, a partial-mash recipe, or an all-grain recipe. Kits will keep it easy, so they’re a good place to start! We used the Brewmaster Sweet Midnight Milk Stout kit for 5 gallons. It was an early winter tap, so a milk stout suited the season. Winter is a prime time for malty, sweeter, dark beer styles like stouts and porters. Confident in your choice of kit then, take a quick stock of all your equipment and make sure you’re all set to go (if you’re already set up and sanitized, pat yourself on the back). In our case–with a more regular brew schedule previously on the books at the Carrboro location–we found our store equipment stock to be very filled out. There were way more supplies than a beginning brewer would need, in fact! Extra equipment and multiple methods can make a lot of things possible, but they can also make things a lot more complicated.If you’re brewing for the first time, keep it simple and don’t worry about the rest! Brew kits are put together to take care of the little details for you so you can focus on the brew.
Kits are like a multi-stage tea; all your grains get tossed in a muslin bag and just steep for a while as the wort (the water you’re turning into beer) heats toward boiling temp. The kit recipe will tell you what the important timing will be as far as what stays in the wort for how long. Our kit wanted us to steep the grains and reach boiling point before tossing the malt in. We added the liquid malt extract the kit provided just after the grains, while the wort was heating to boiling temp. The hops were added in next, following along with the kit’s suggested addition times.
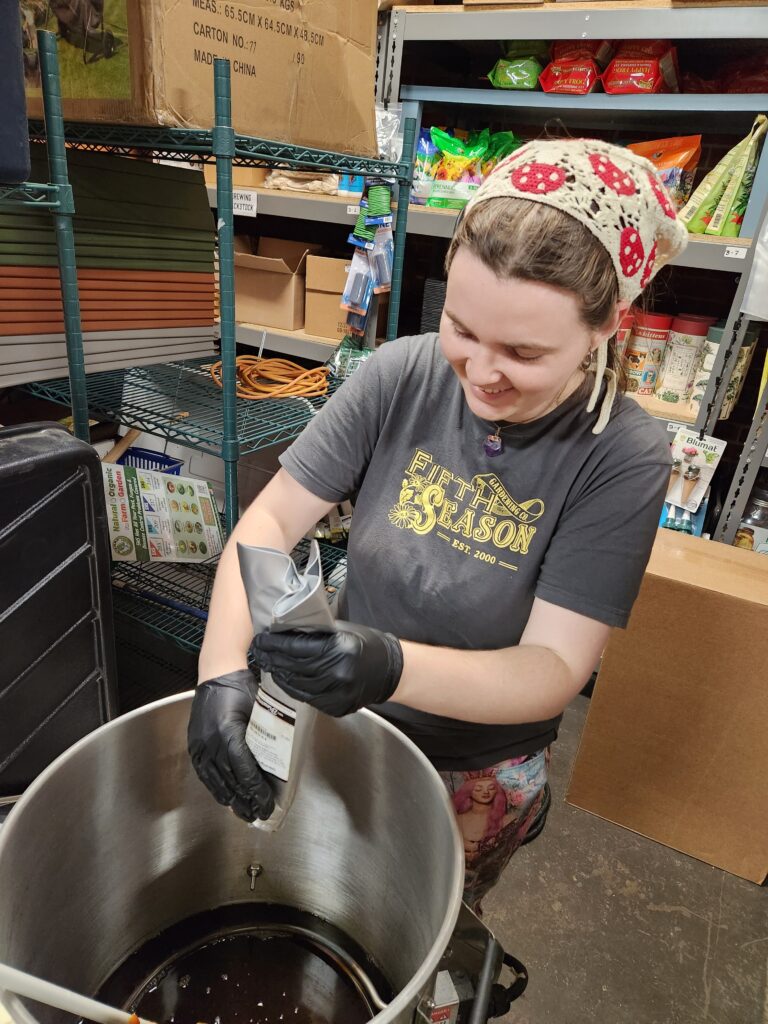
Depending on the brew you might get some later additions like lactose (which serves as a key sweetener in styles like stouts and porters). Clarifiers are also a pretty common last stage ingredient. And typically in between dropping those last bits in the kettle, you’ll be getting your yeast pitched in warm water so it’s ready to dump in the fermentor in the next step (“pitching” is just the addition of yeast to water so that they can wake up a little bit). With most of that happening in the last half hour of the boil or so, the fussy stuff will be mostly behind you.
The final stage is getting your wort cooled and transferred to wherever it’s going to ferment. To cool it you can set your sink up as a cold-water bath, but you’ll have to top it off regularly–the faster you can cool off the wort for transfer, the less risk of contaminants getting in. We have copper wort chillers in the store which make the cooling process easier, so if you’re having fun and things are going well enough to try some other recipes in the future, then I’d definitely recommend picking one up! As far as the container for fermenting in, you’ll see glass or plastic carboys in a lot of home setups, but it’s just as acceptable to use an equivalently sized sealable bucket.
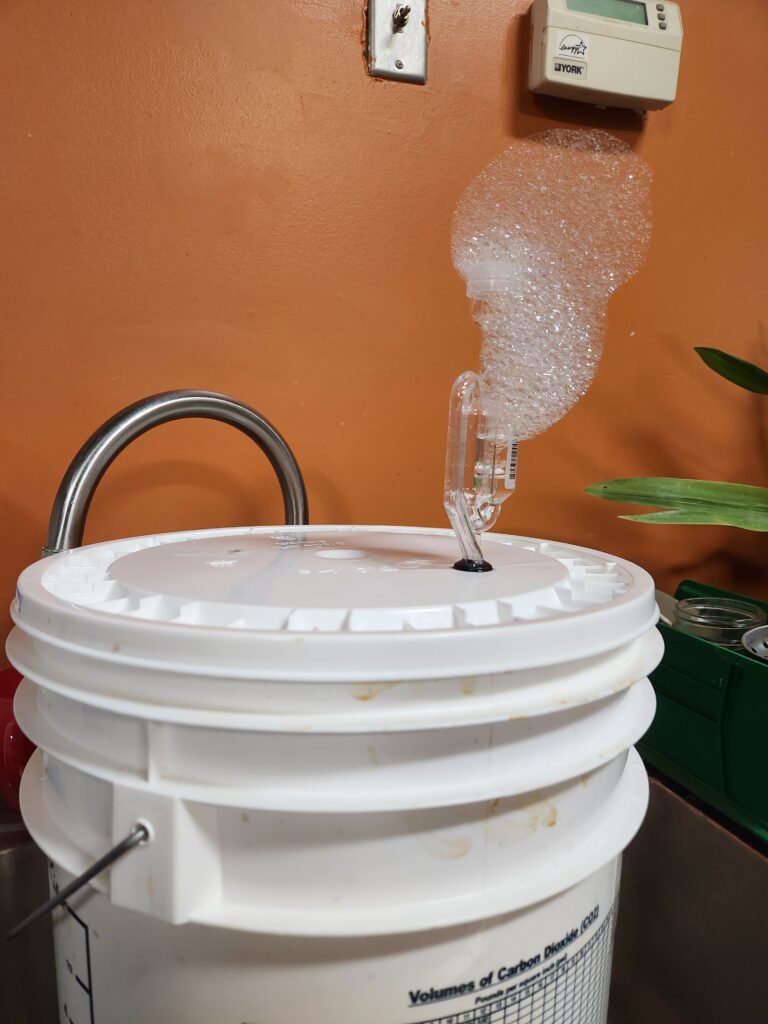
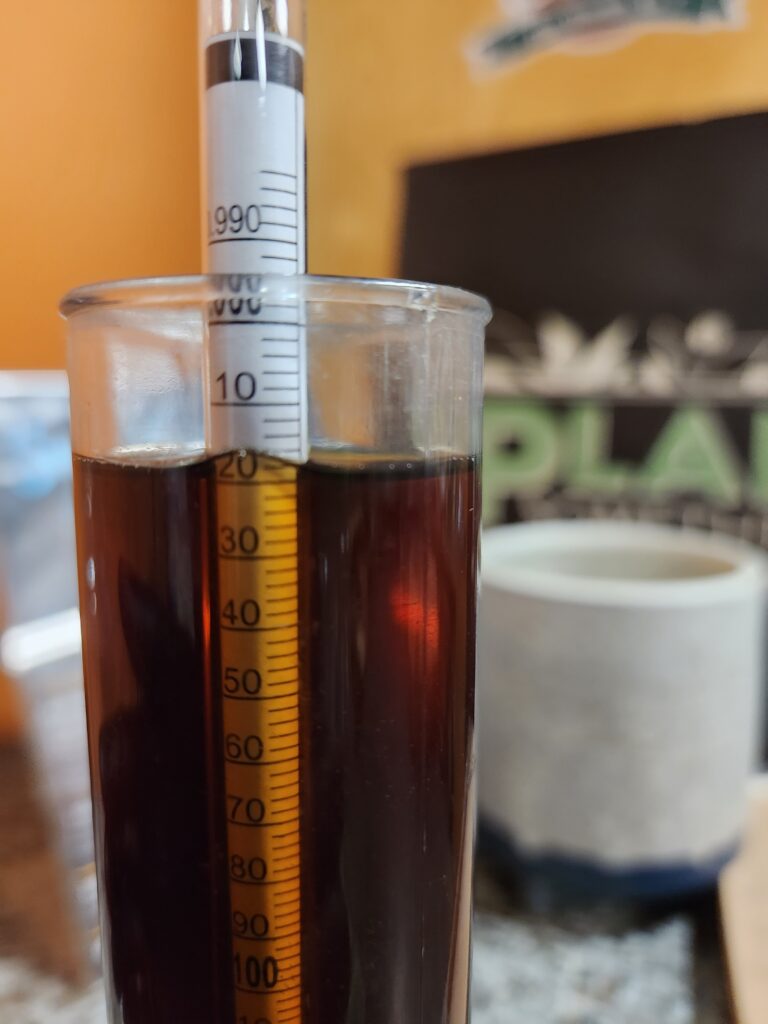
And that’s it! Be sure to get a hydrometer reading and jot down the specific gravity as you get your brew set up in the fermentor. That way you have something to compare to when fermenting slows down and you get to wondering if all your hard work is ready to drink.
WHAT YOU’LL NEED
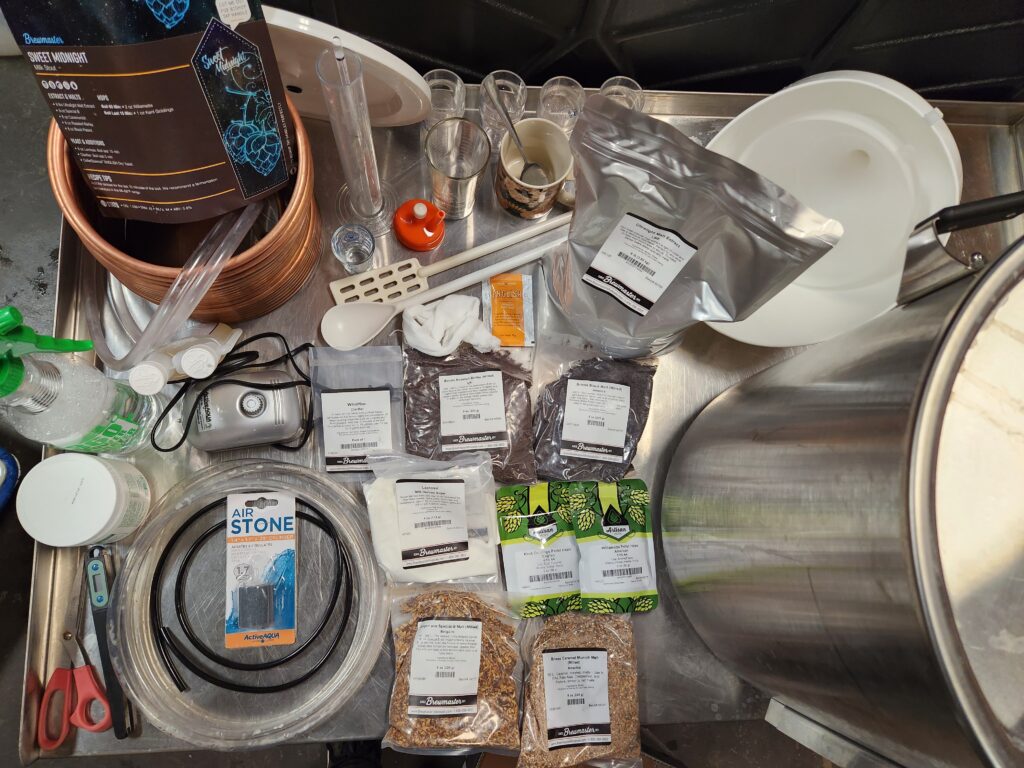
So, easy right? Right. The most important thing you can do to make brew day go smoothly is to make sure you have all the equipment you need before you’re ready to start. I’m going to put a list down below, just so you can be sure. Much of what’s on the list is also stuff you probably have at home, or can at least find at a local hardware store.
Absolutely essential equipment! You won’t be brewing if these aren’t sitting on your counter:
- Boil Kettle (Generally a stainless steel pot for home setups.)
- Beer Kit (Grains! Extracts! Hops! Yeast!)
- Equipment (Carboy or bucket! Tubing! Airlock! Grain bags! Funnel! Stir spoon! Thermometer and hydrometer! Measuring cups!)
- A water filter! The Envig garden filter we carry in store is great and saves you replacing other, more limited use filters.)
- Star-San or some other Brewing Sanitizer
And you’re all set!
TIPS, CAUTIONS, AND ADVICE
Now, there are some things to watch out for as well. If you’re working with a standard, simple homebrew setup then you may not run into these kind of issues at all! Since it never hurts to be prepared (especially in the world of brewing), I’m going to lay out some of our mishaps as a bonus cautionary tale. Fret not, though! These problems are not common or to be expected, but they can exactly be unexpected, which is why I’ve made a point to lay them out here where you can learn how to avoid them before they ever come up!
First, there is a difference between cleaning and sanitizing your equipment. There are products for both steps and it comes down to preference as to how you want to incorporate each step into your brew day flow. We decided to use PBW as a cleaning agent, which would work wonderfully in a small setup where you have means to heat water asides from what you’ll be using for the wort itself; PBW requires a follow-up rinse of heated water before you move on to sanitizing. Oftentimes brewers will clean and sanitize everything all in one pot to save on time, energy, and materials. Our plan was likewise to clean everything in the boiler beforehand, and then drain the PBW into our fermentor. Now, this could work depending on how you’re heating your water. If you have a separate container to heat water, you don’t need to worry about how hot the boil pot you’re keeping your supplies in will get. In our case, with just the one boiler to heat water, we had cautiously reposition our plastic brewing supplies as the PBW drained and left the heating elements at the bottom of the boiler more directly exposed. Fortunately there were no fatalities in our case, but if you’re playing with cleaning your supplies directly in the pot on the stove then definitely be aware of how hot the metal contacting the stove is getting.
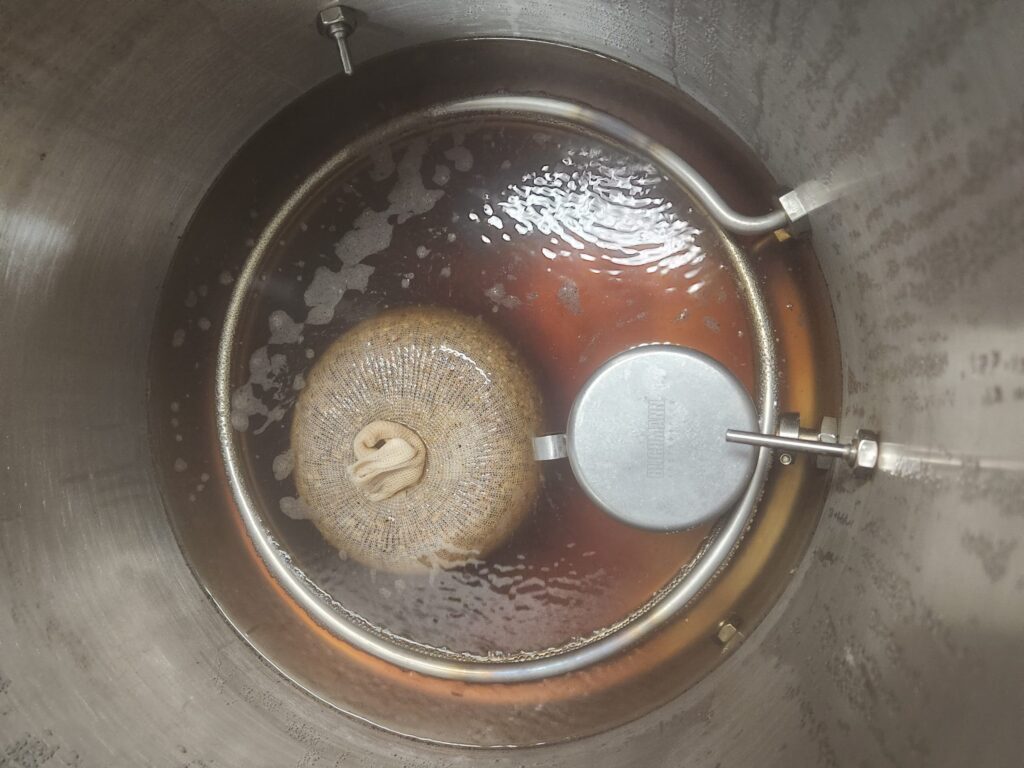
Now, there are a number of different ways the home brewer can decide to go about boiling the wort. If you’re working with extracts or a smaller space, you might encounter the Palmer Brewing partial boil method, where you only heat some of the total water you’ll be using for the wort and starting ingredients, so that you have less liquid to maneuver (which is not something to be undervalued, when the alternative is a pot full to the brim of boiling wort that you now have to relocate from the stovetop and pour from by hand!). That being said, if you have a large or commercial boiler, this may not be the method for you. Most kits are for five gallons, end of batch, as was the Milk Stout kit we used in our store brew. We did indeed have a commercial boiler capable of holding many more than five gallons, but what that also meant was that pouring only half the water in it left part of the heating coil exposed to the air. This is navigable if you are very careful (we did our best to be!), but poses a risk when adding malt extracts if they’re included in the recipe. Worst case scenario, you have a bunch of liquid malt extract spilling over red hot coils and instantly burning to a charred sizzle. We managed to avoid that extreme, but I’m not confident that even a Russian Imperial could cover up the char flavor that kind of burning makes possible!
Anything else to be careful of are just the small things that could be easy to forget. Make sure you’re keeping an eye on temperature as you add things to the wort, and aim to keep the wort within the specified temperature range that the recipe recommends.
Another helpful tip is to pre-boil some water on the side, so that when you have to pitch the yeast you have boiled water that has already settled down to room temperature. This will save you time and hassle (we’ve heard of attempts to heat water to boiling right prior to the pitch, which will interrupt your whole brew schedule as you then wait for the pitch water to cool enough to use).
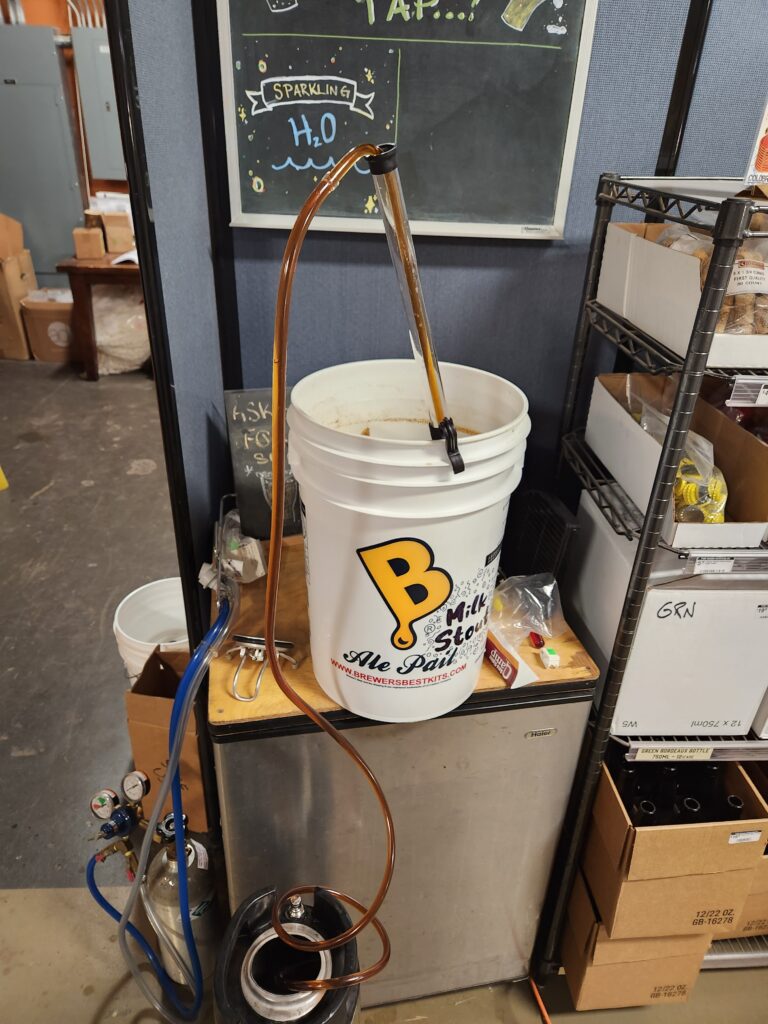
And in the case you use a diffusion stone to aerate the wort in the fermentor before pitching the yeast, make sure to keep it on low or the wort can foam up and potentially lessen your final volume.
Beyond that, the book How to Brew by John Palmer is an incredibly helpful resource. It not only sets you up for an introductory run-through for a first day brew but includes whole chapters on the science and process behind brewing in general. A fairly essential read if you’re ever in doubt about how to go about customizing any recipes you’ve tried and could do better! We carry copies in store, as well as a number of other books on beers, meads, ciders, and the rest!
WHAT’S NEXT
As a bonus, here’s a quick word about seasonal brewing! Since we’re hitting spring, you can expect lighter beers to come back in vogue as we leave the heavier stouts and porters behind til next winter. Expect beer styles with crisper, brighter dry flavors, light bodies, and potentially some sour or hoppy notes. You’ll see a lot of Pilsners, Helles, Cream Ales, Kolsch, and Saisons, with Bocks serving as a good middle ground as we leave the colder months. For our part, we’re looking at a Honey Kolsch on the store’s horizon! Whatever style you think suits the next month or two, we can get you set up with grains, extracts, yeasts, hops, and hardware. Feel free to call or stop in if you have any questions or just need some recommendations.
Happy brewing!

Leave a Reply